iPads
Apple Classroom
Apple Classroom
Classroom is installed on all teacher's iPads. If you need Classroom on a different iPad please send an email to ithelpdesk.
The student iPads do not need the app installed.
Before you ask the students to connect to your classroom please make sure that all the iPads, including the one that you use, are on the same network (ISB), and that the Bluetooth is on. The devices need to be near each other for this step, 1-2 meters.
To learn how to set up a class (0.14), how to invite and add students (1.05), how to use the options, check on, and manage the students' iPads (3.15), please watch the underneath 8-minute video.
Shared iPads ES
Initial setup and other essential things that you need to know.
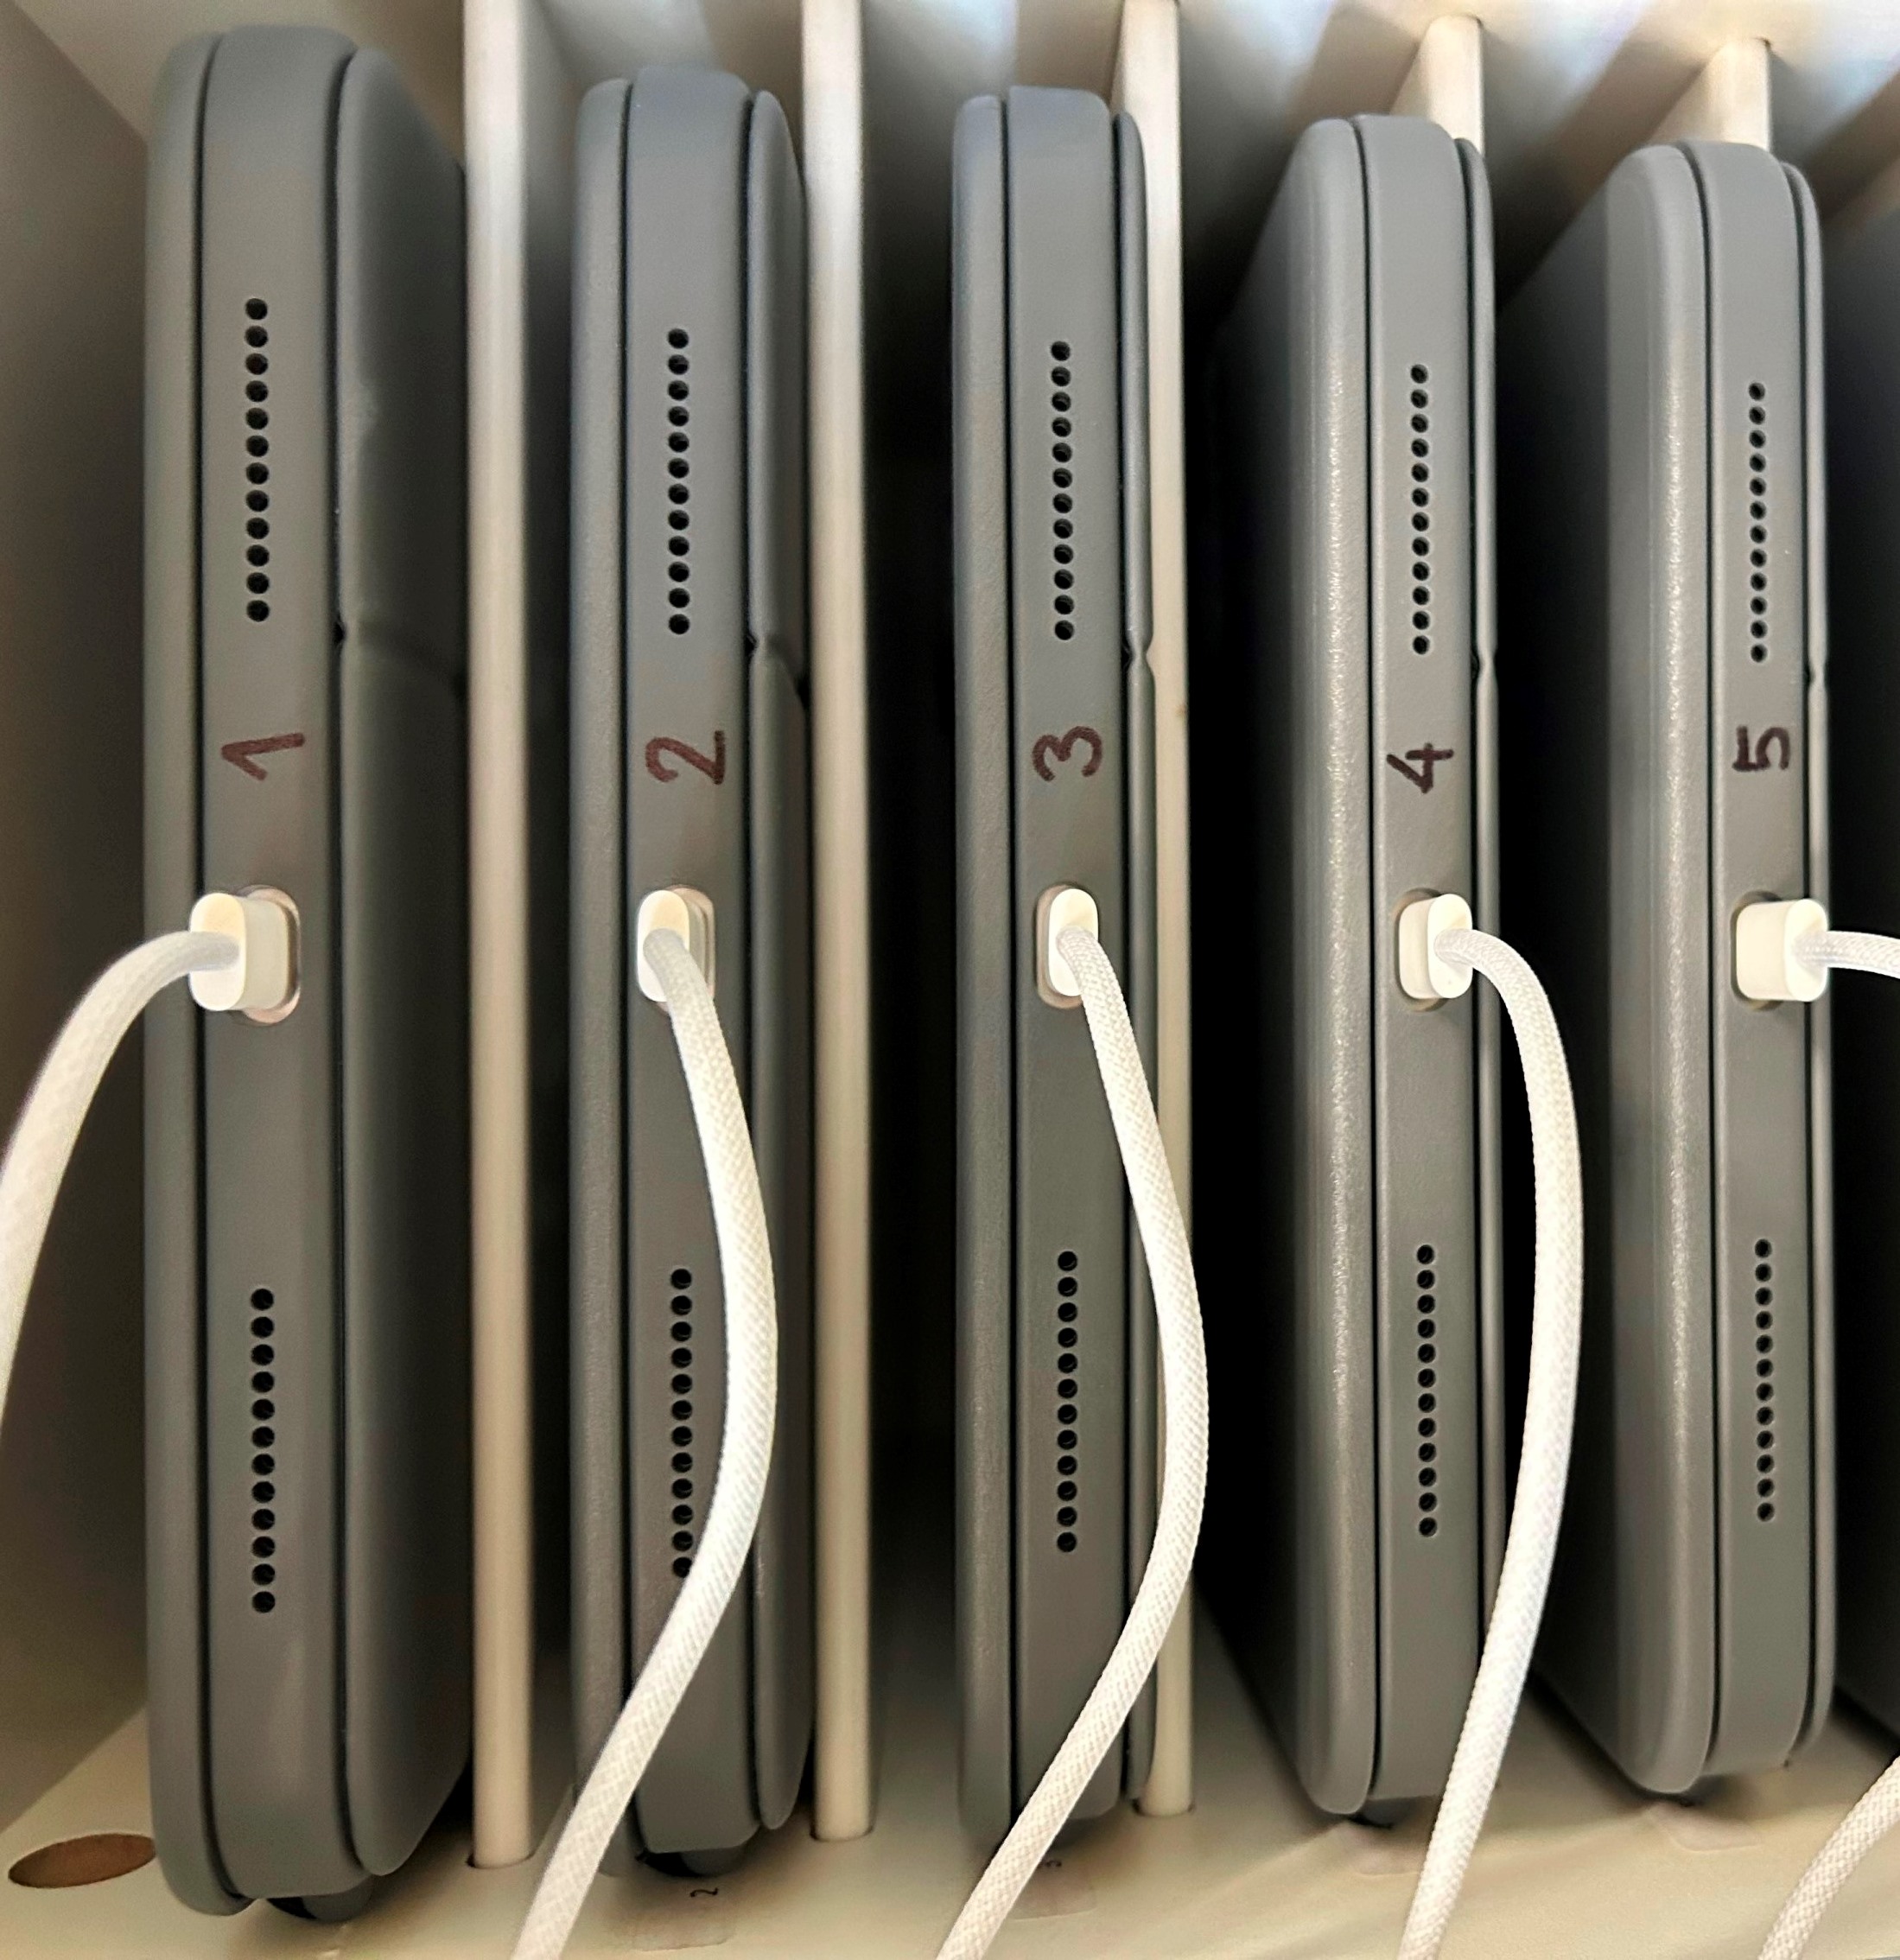
Please assign an iPad per student and ask them to try to use the same one every time.
We numbered them 1 to 15 on the left and 1 to 15 on the right:
The benefits of using the same iPad are:
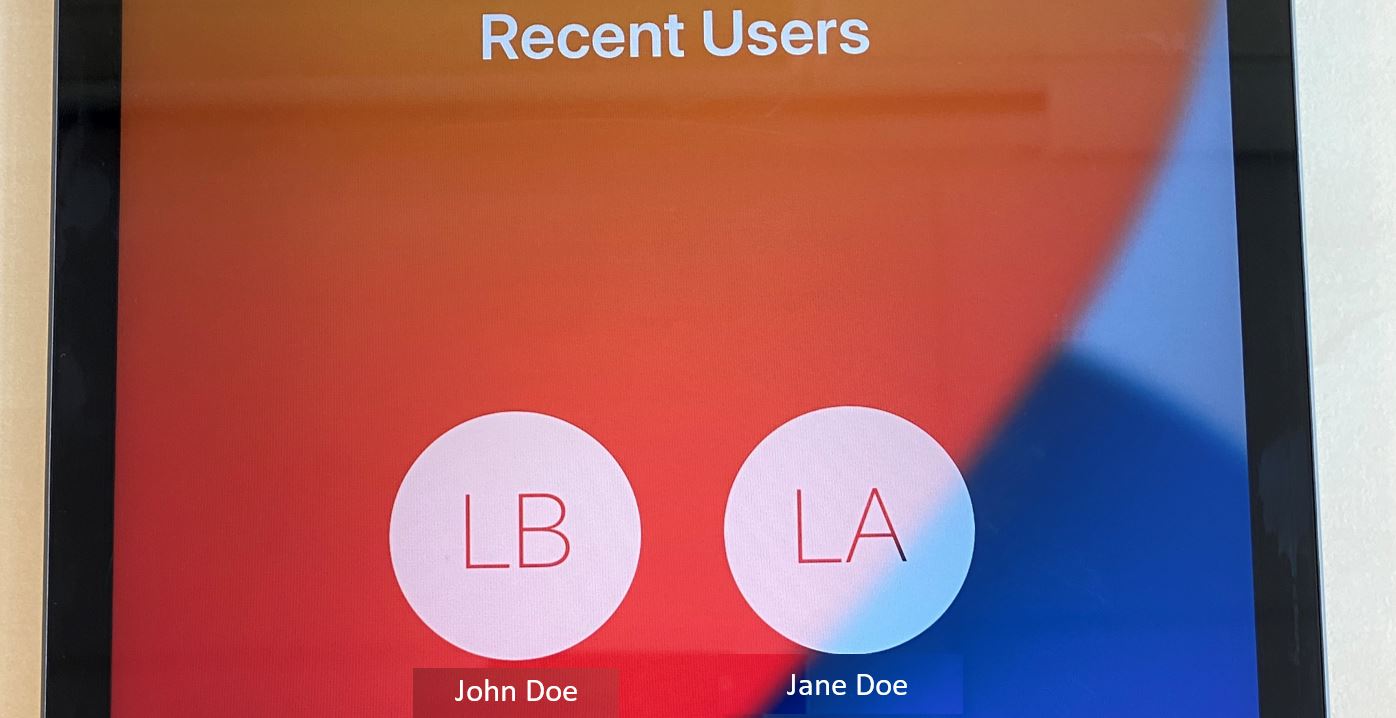
- Fast log in. Instead of going through the initial setup on a new iPad, the students can select their names from the list and insert their passwords.
- After logging in, they will not have to wait for the server to move and apply all their photos, documents, and settings from the last iPad they used.
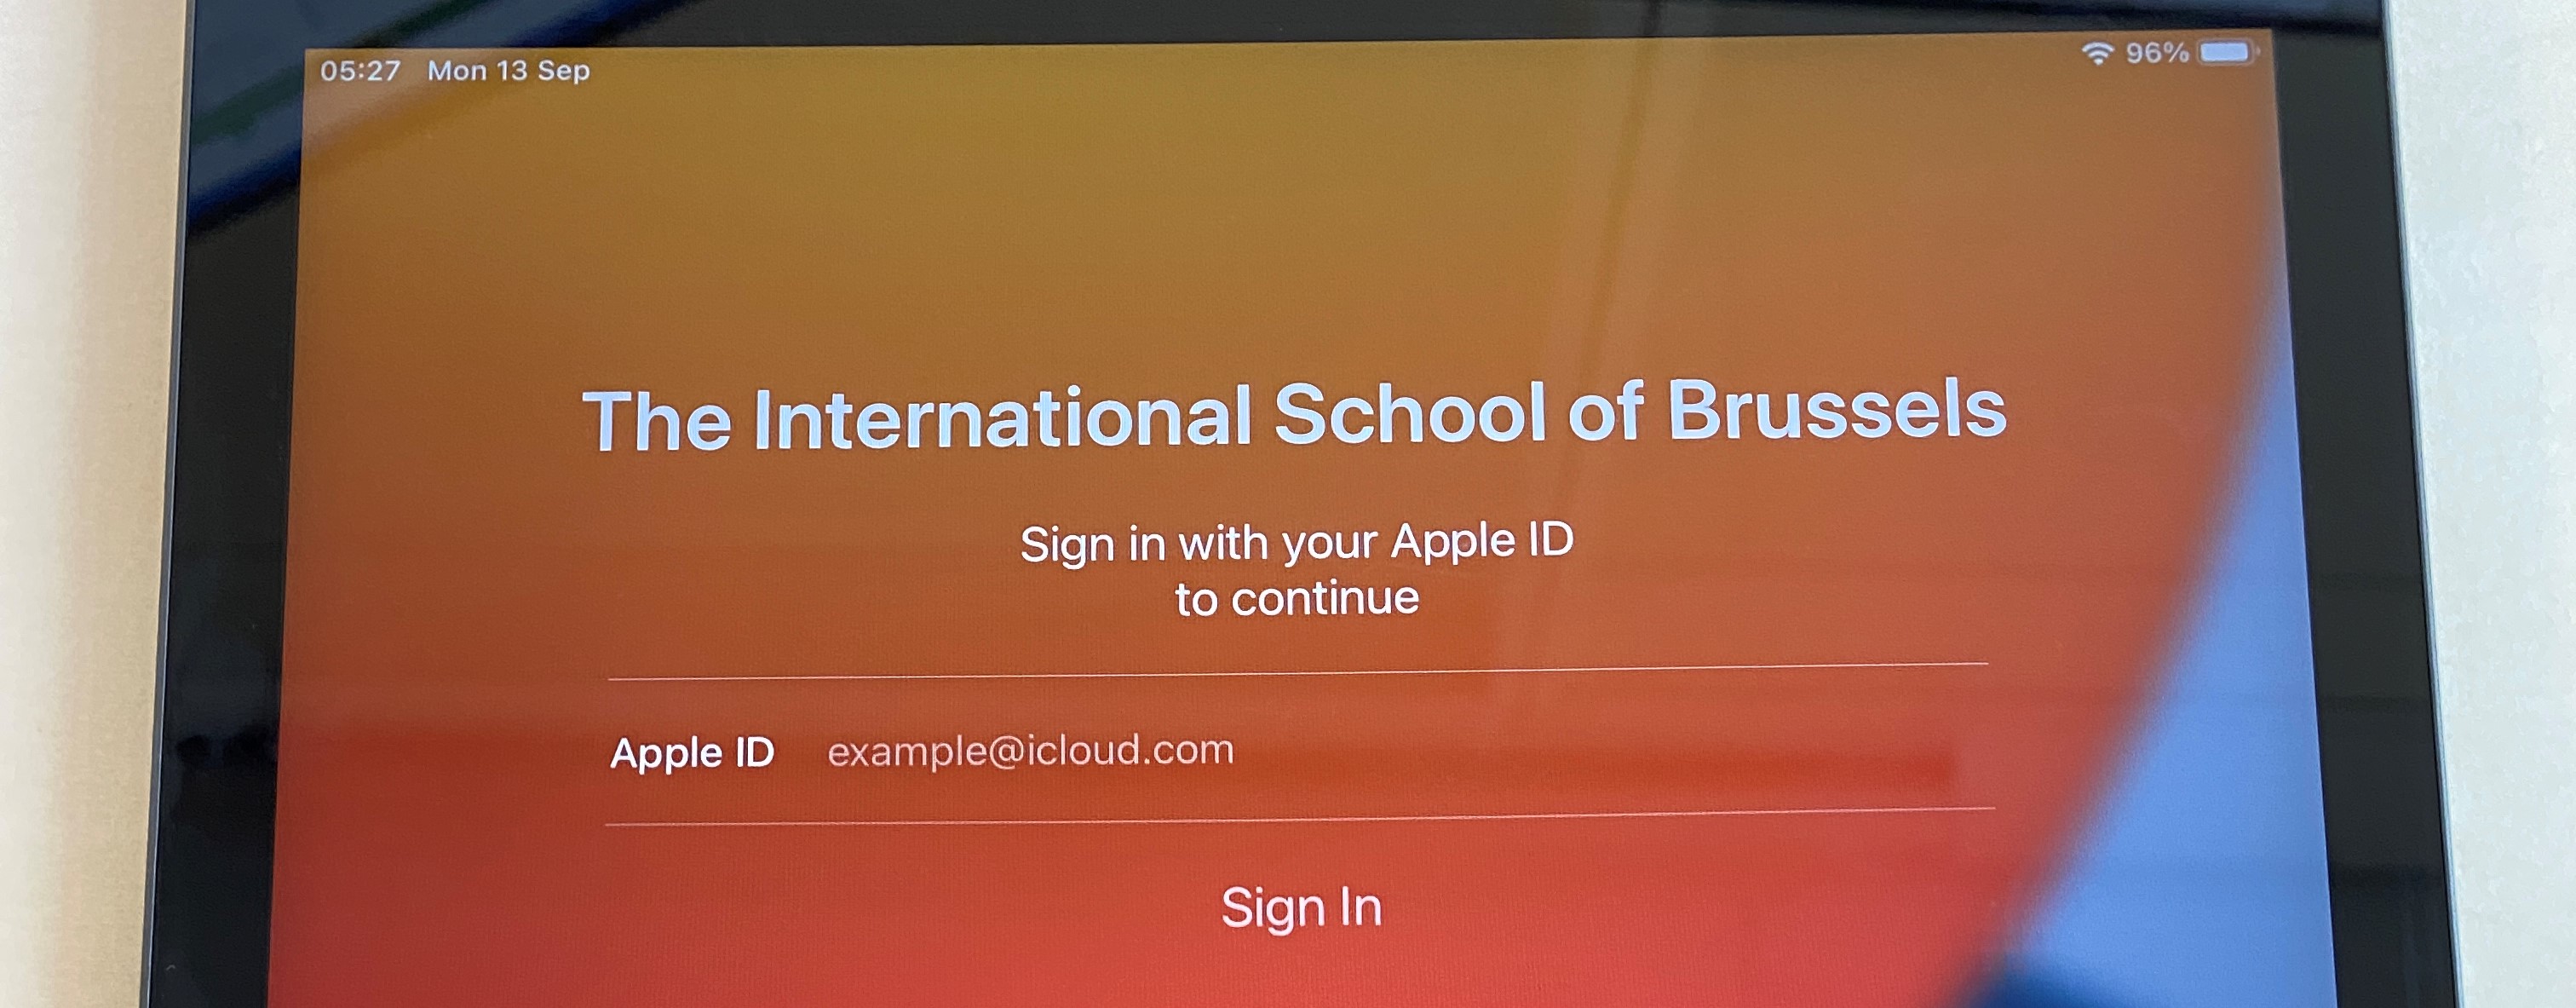
First, Sign in.
- Please ask the students to insert their email address and press Sign in. example@isb.be
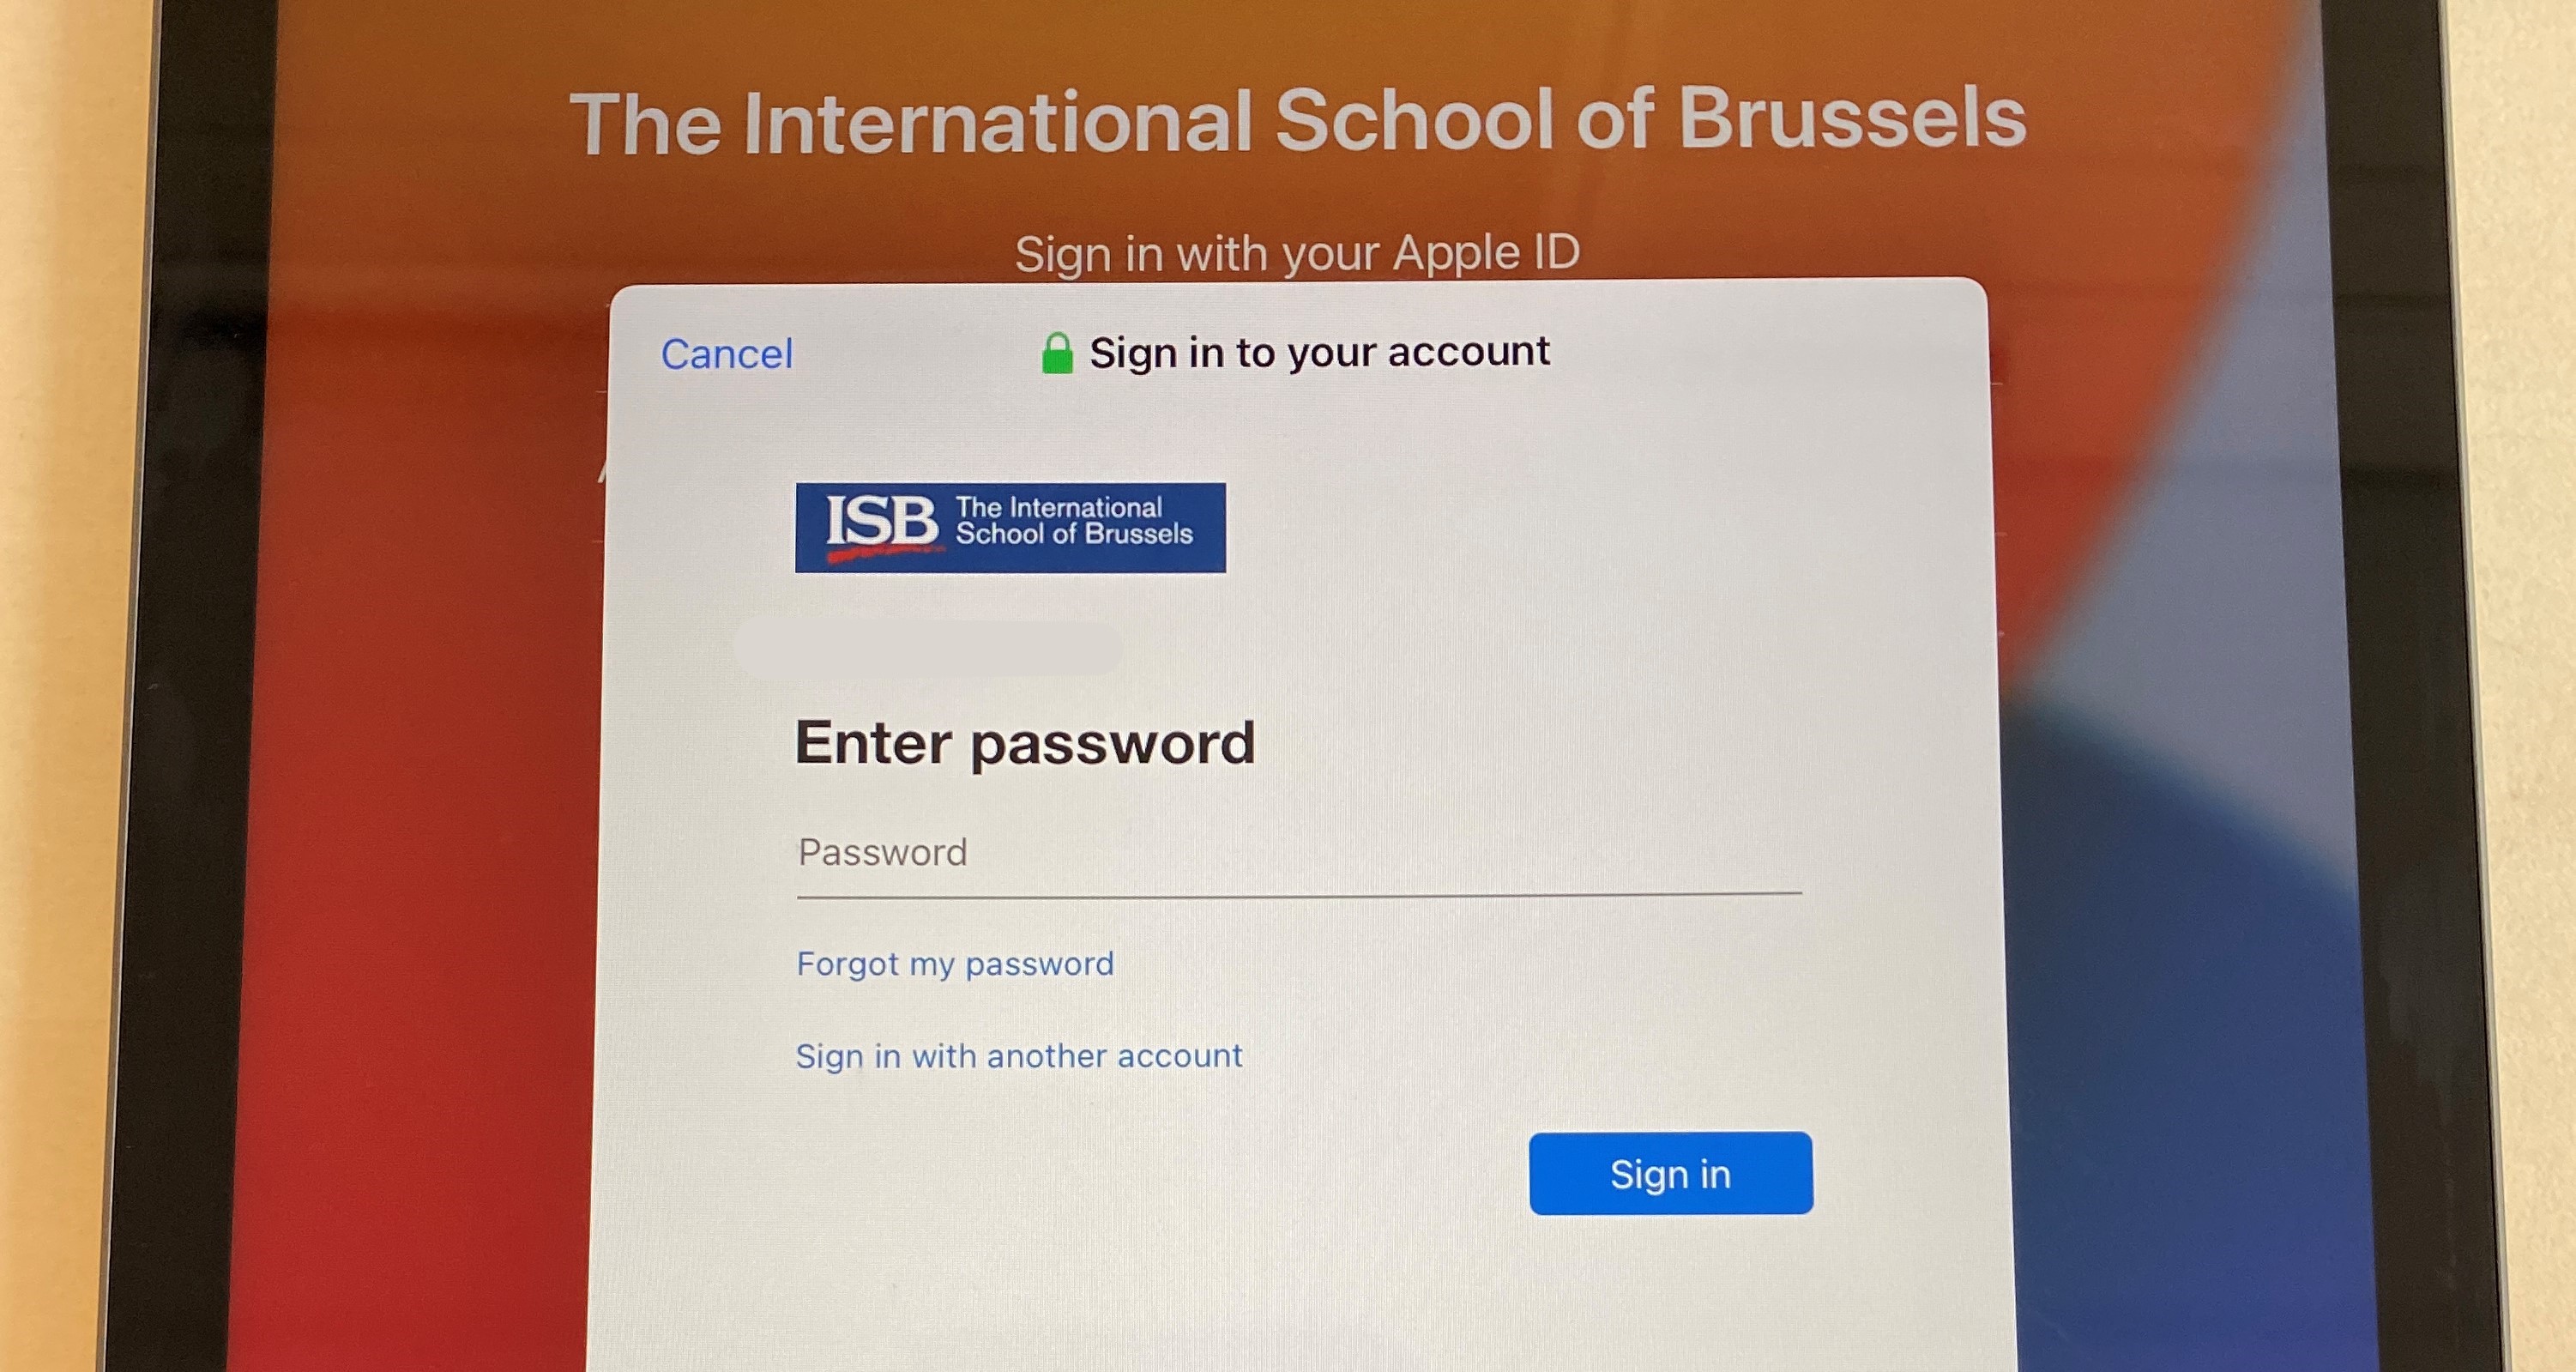
- Insert the email password (without the 0 for returning students / with 0 for students who started this year)
- Ask them to select their preferred language in the next window – usually English; and the location – Belgium.
- Press continue when asked to change the settings for Written and Spoken languages.
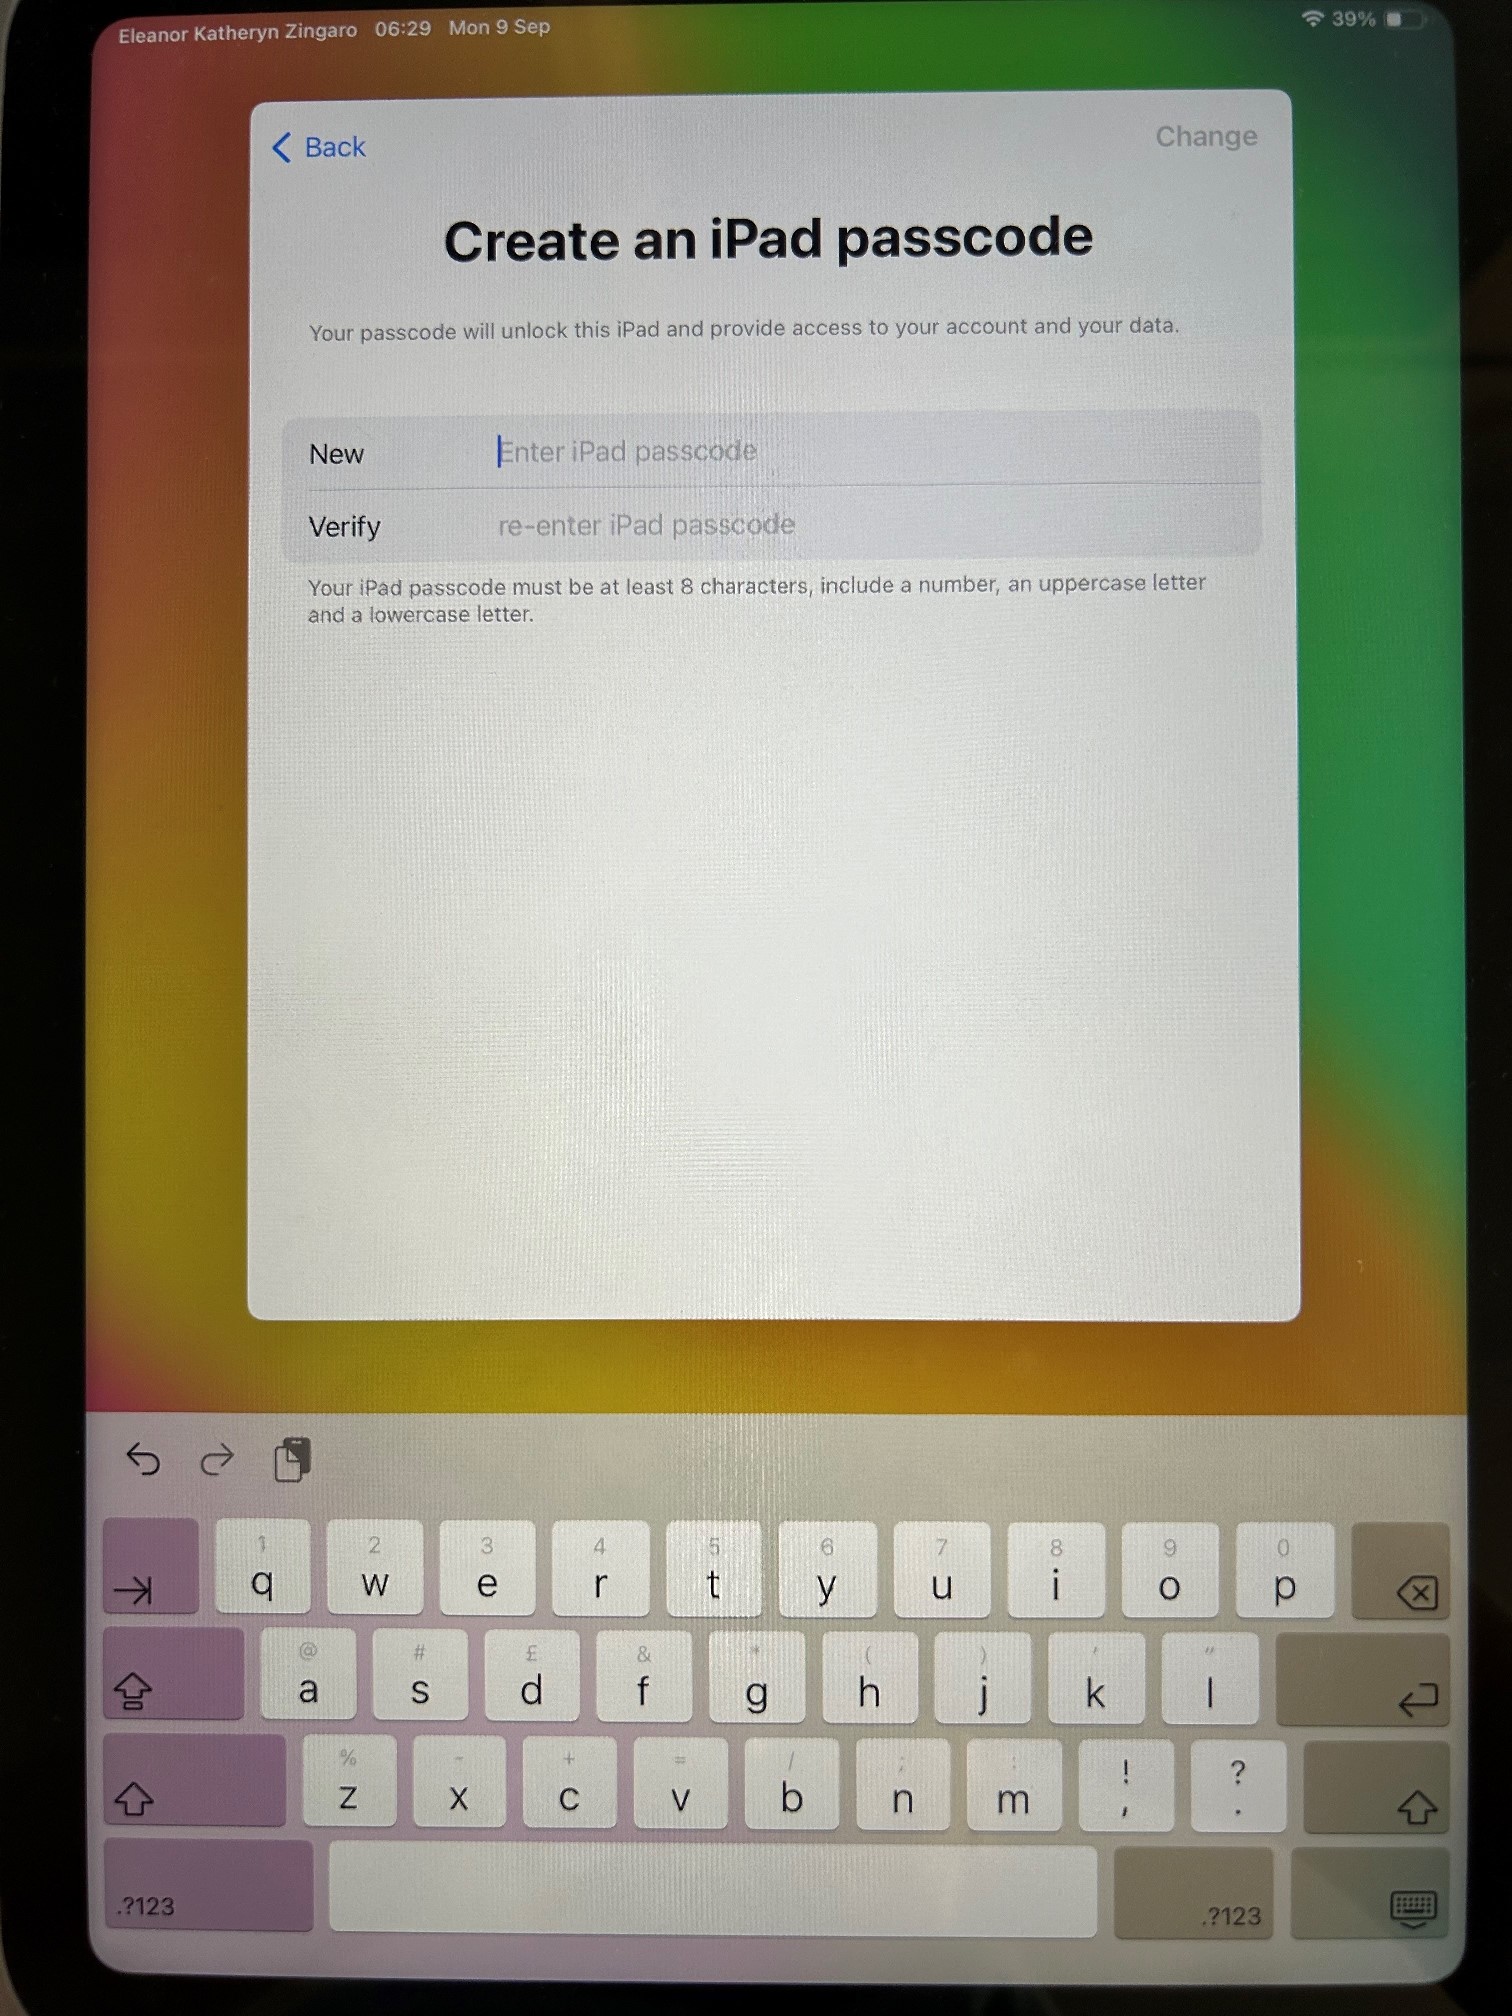
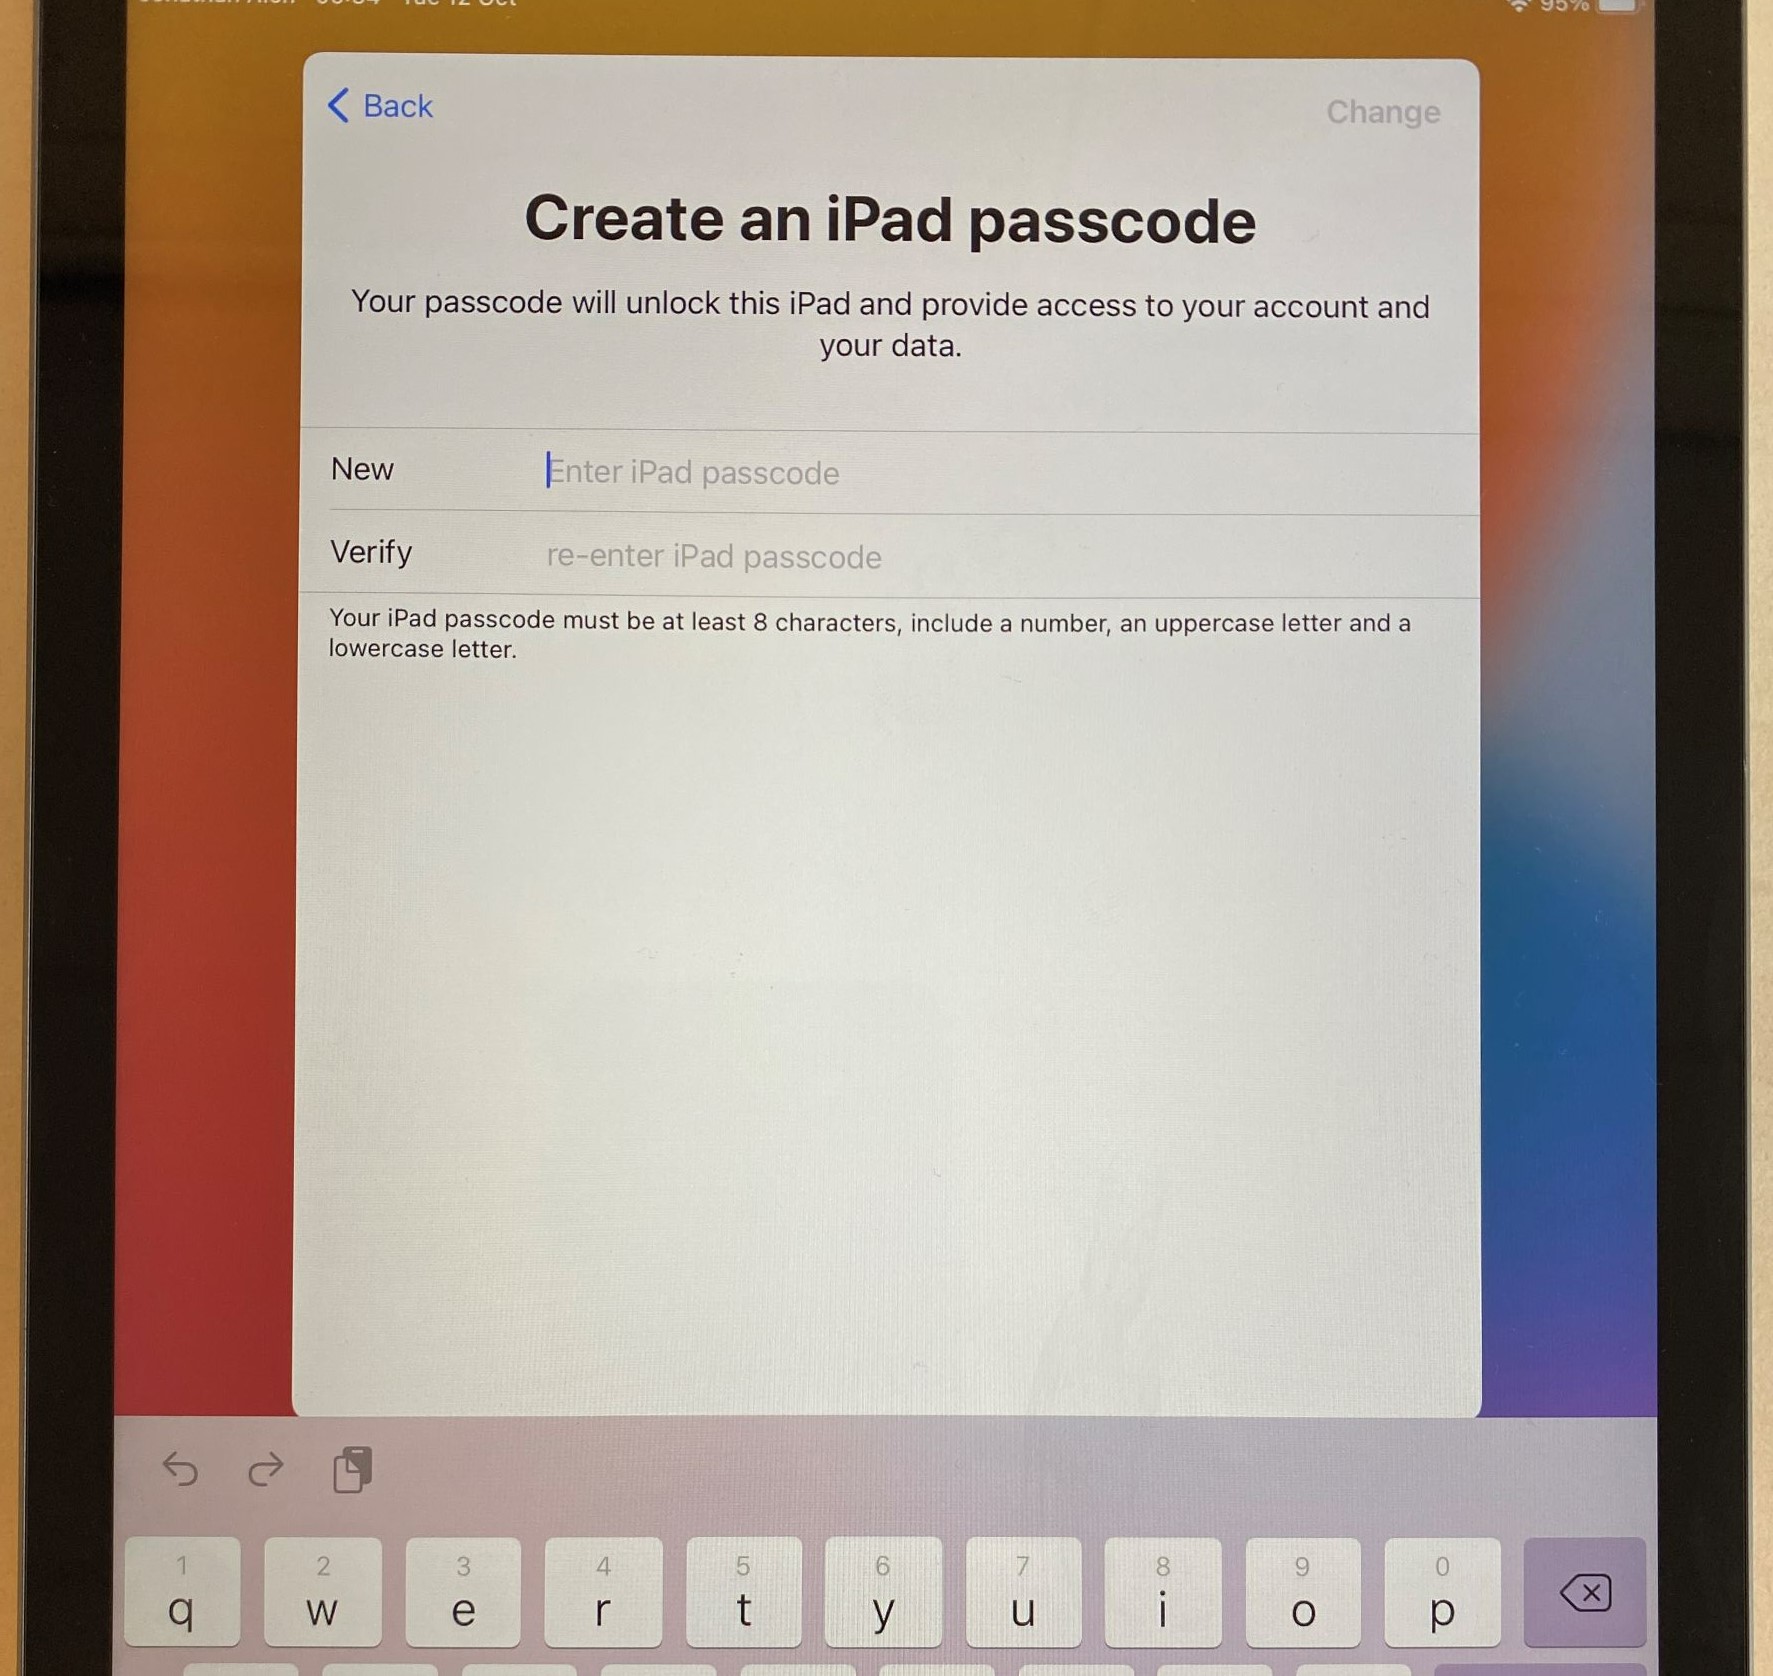
- The iPad will then ask the students to create a password. Please ask them to use the same password that they use to log in to their laptops (with the 0) but to capitalize the first letter.
- In a few seconds, the iPads will create their accounts and log them in.
- Important step – when they are done working on the iPad, please ask the students to log out.
- Press the power button twice; the screen will go into standby and come back. Press Sign out in the lower-right corner.

Shared iPads HS Art
Initial setup and other essential things that you need to know.
Please assign an iPad to the students and ask them to try to use the same one every time.
I put a sticker on all of them.

The benefits of using the same iPad are:
- Fast log in. Instead of going through the initial setup on a new iPad, the students can select their name from the list and insert their passcode.
- After they log in, they will not have to wait for the server to move and apply all their photos, documents, and settings from the last iPad that they used.
First Sign in:
- Please ask the students to insert their email address and press Sign in. The email address format is as follows: example@isb.be
- Insert the email password
- Ask them to select their preferred language in the next window – usually English; and the location – Belgium.
- Press continue when asked to change the settings for Written and Spoken languages.
- The iPad will then ask the students to create a password. They can use the same one that they have, but because the requirements imposed by Apple are stronger, they'll have to add a number and a capital letter. They can add Q1 at the end of their regular school password if they want, or they can use something else entirely, but it needs to be at least eight characters long, have a capital letter, a symbol, and a number.
-
Please ask the students to write down their passcodes – it is going to be the same regardless of what iPad they pick, but because they are not using them daily, they are very likely to forget them.
- In a few seconds, the iPads will create their accounts and log them in.
- Important step – when they are done working on the iPad, please ask the students to log out.
- Press the power button once, then a second time; the screen will go into standby and come back.
- Press Sign Out in the lower-right corner.