Projectors
- Projectors - How to Connect to the Projector in the Atrium.
- Projectors - How to Connect to the Projector in the Annex
Projectors - How to Connect to the Projector in the Atrium.
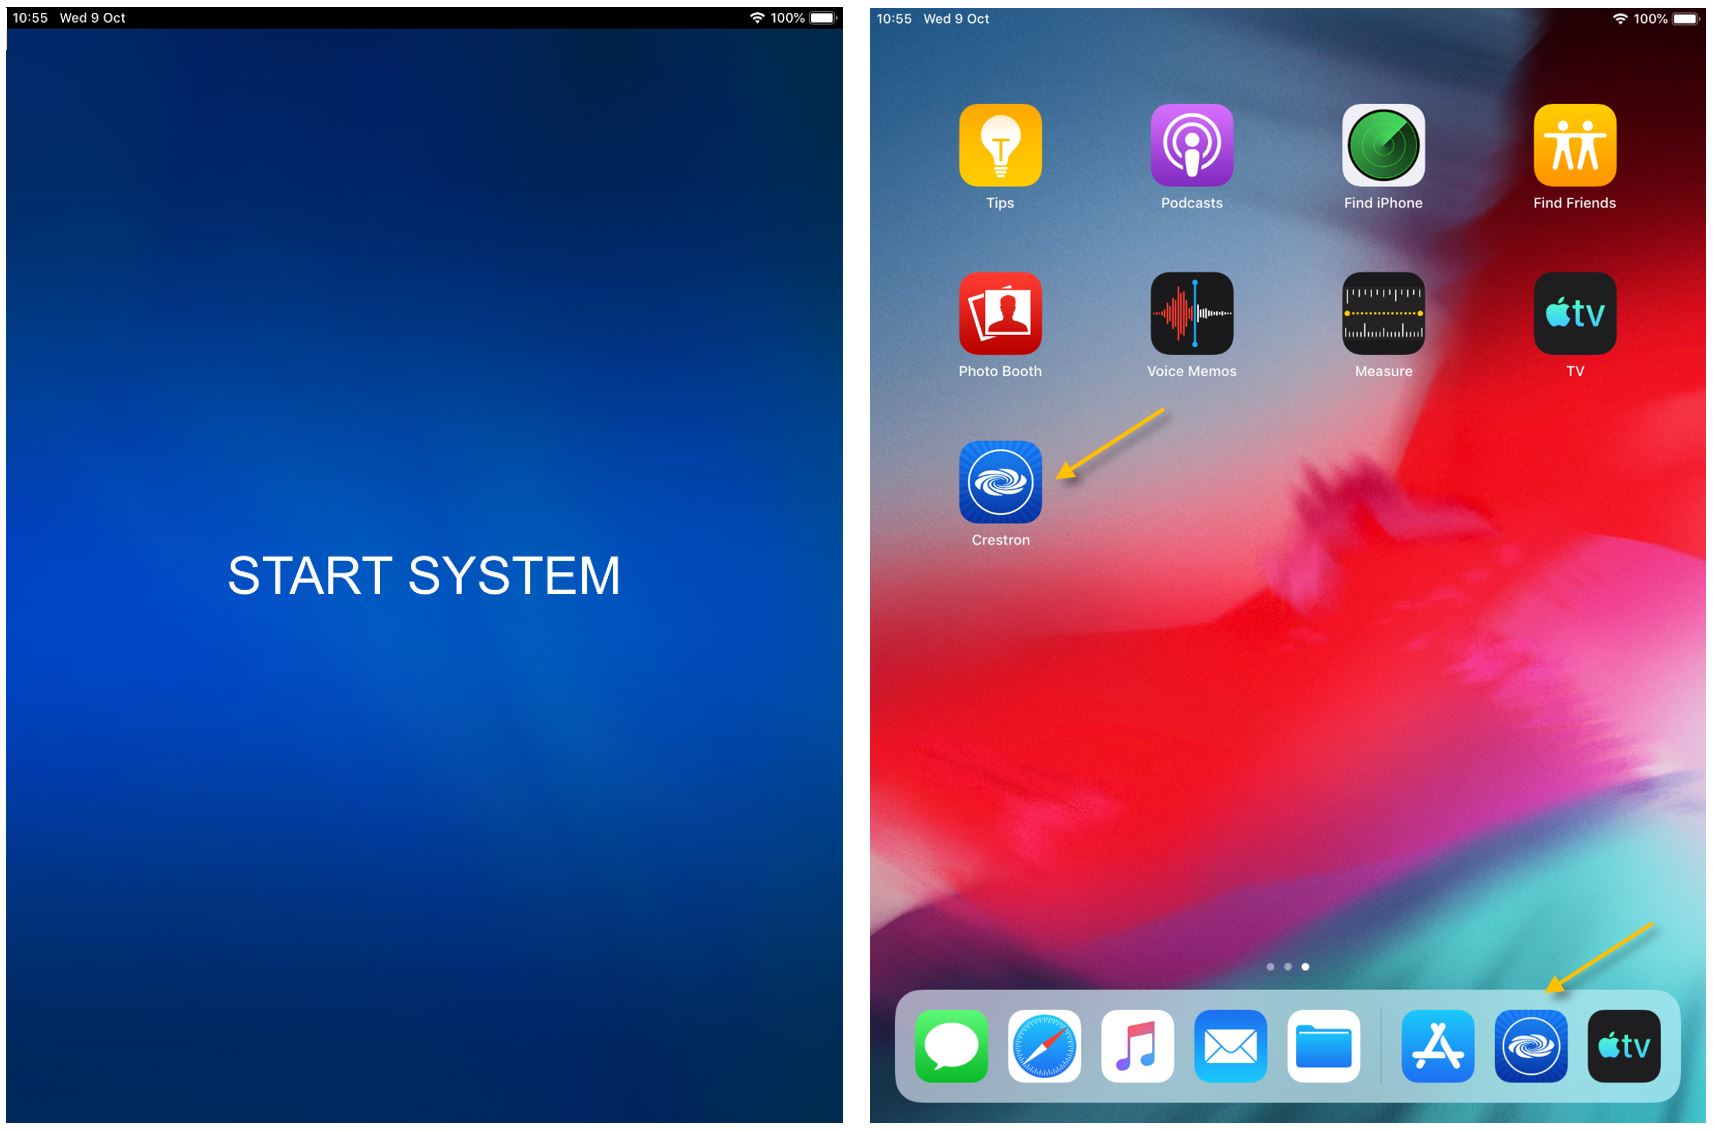
| Open the cabinet and take the tablet out. (Please ask the HS’ General Office or the IT department for the Combination). | Start the system by clicking anywhere on the START SYSTEM page, or, if the Crestron app is not active, find it on the last app page and open it. |
 |
 |
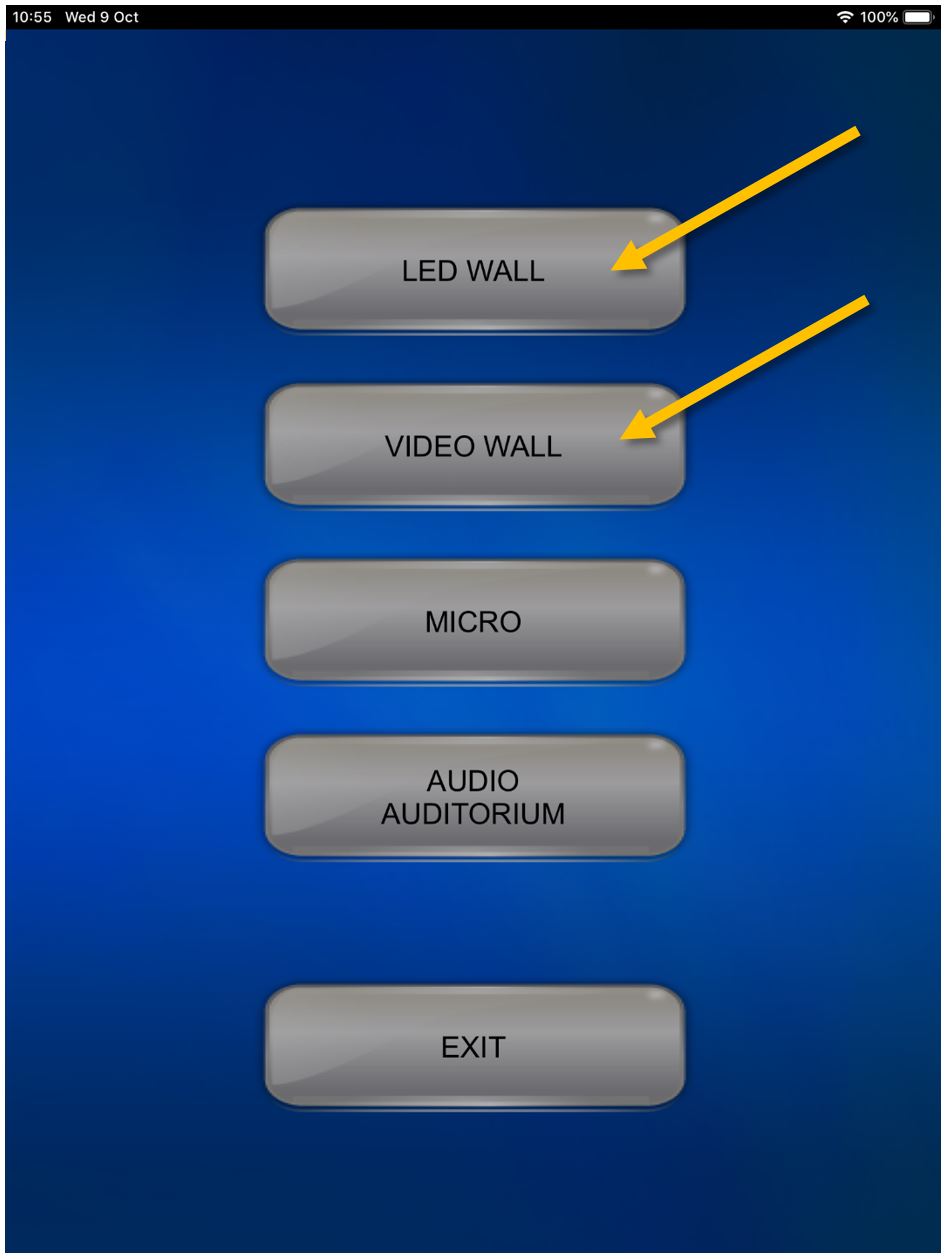
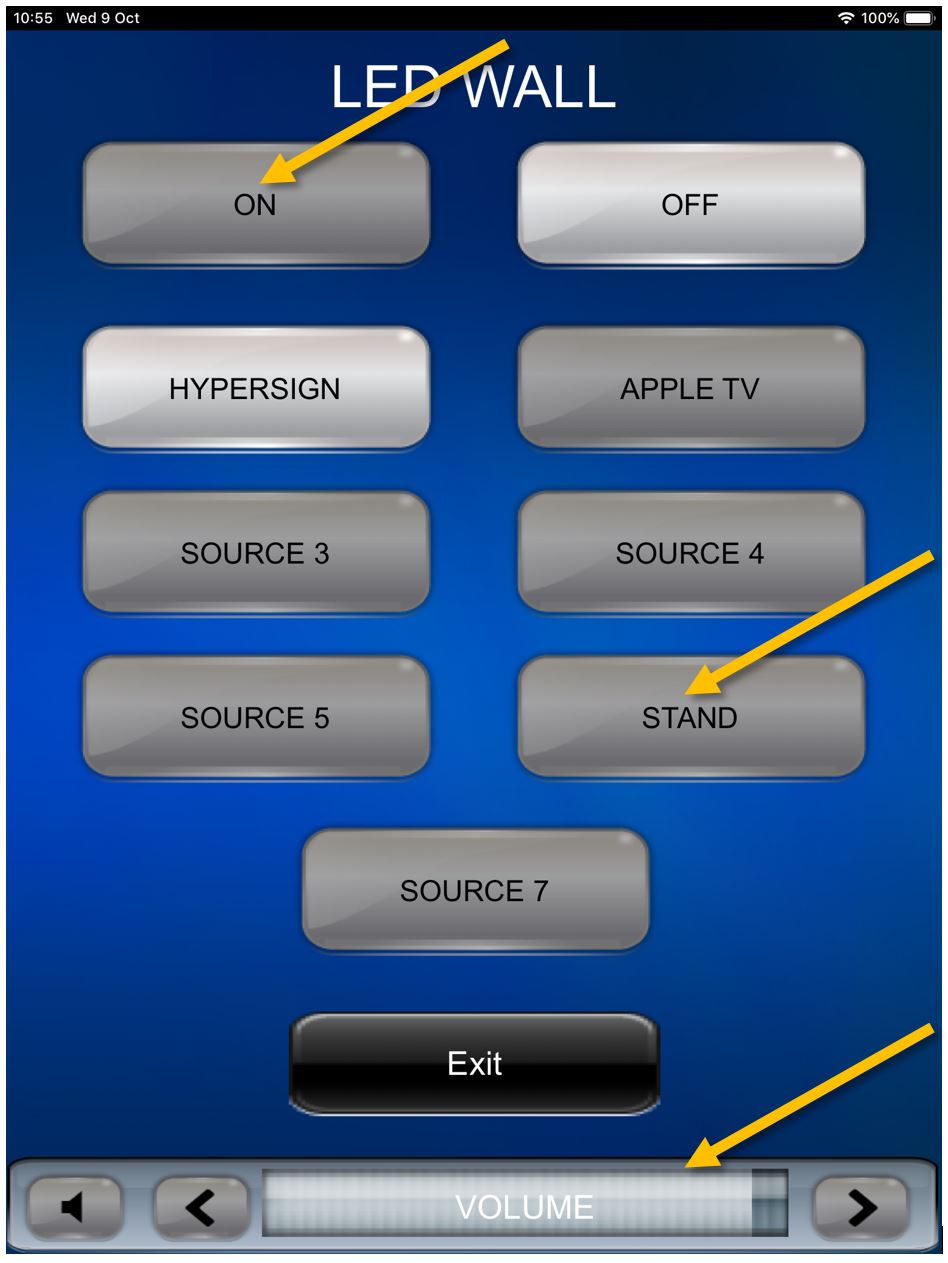
| Press LED WALL, or VIDEO WALL, and ON to turn on the LED screens. | When using the provided cables and adapters (recommended) please make sure that STAND is the selected source. You can use the slider at the bottom to adjust the sound volume. |
 |
 |
|
The LED screens can be used simultaneously. To go back to the previous menu click on Exit and select the other screen. Turn it ON and make sure STAND is the selected source. |
|
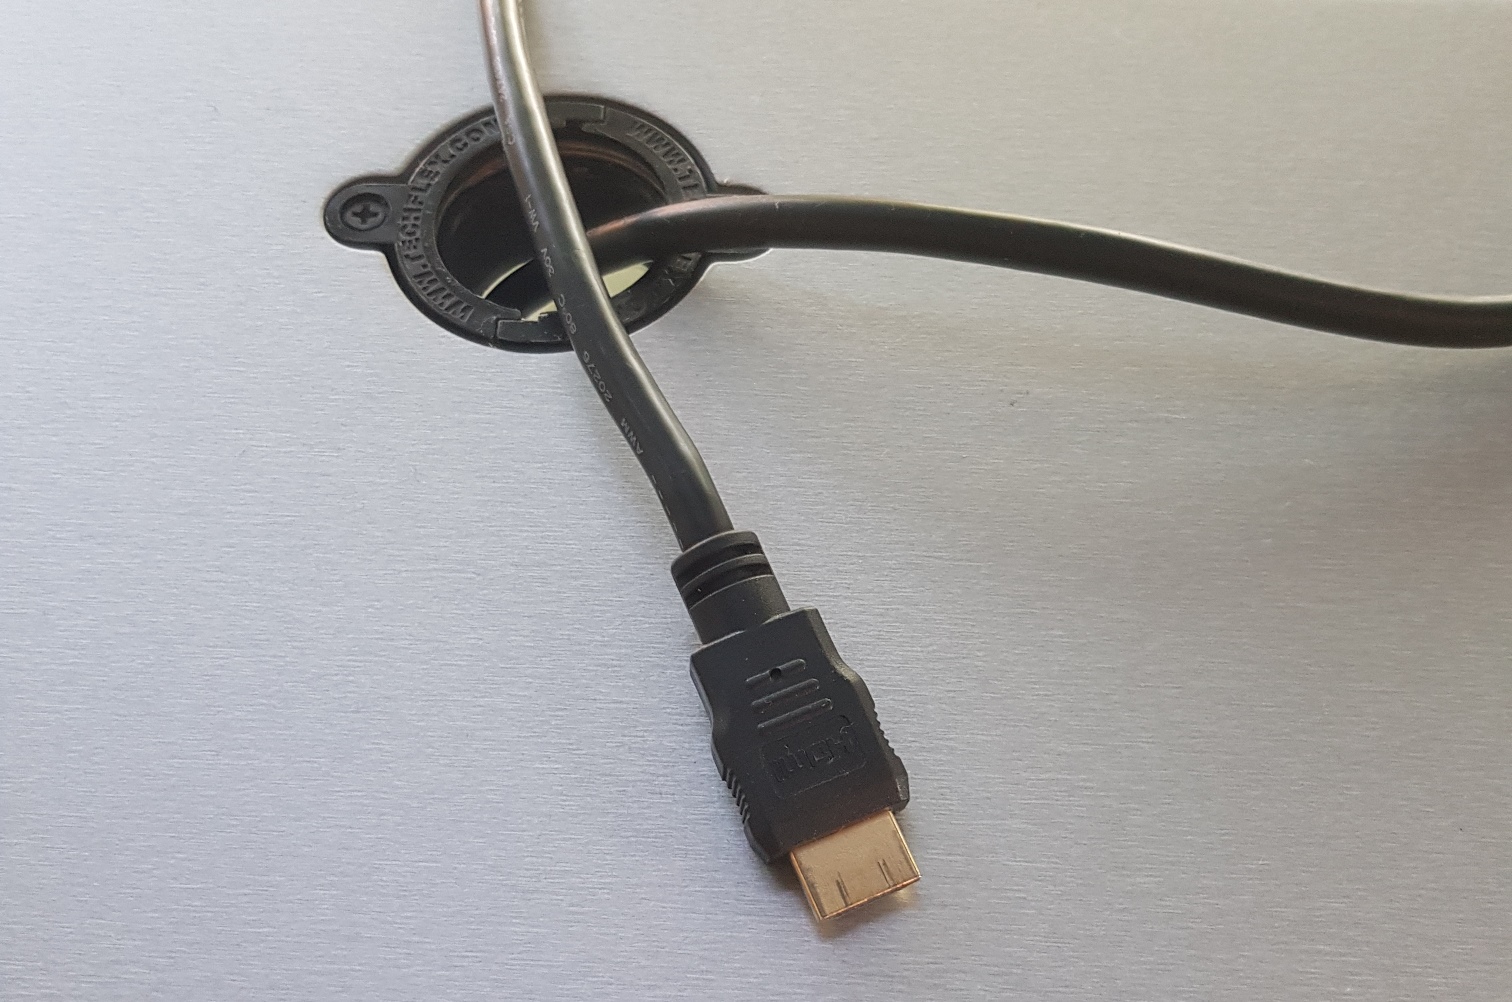
| Connect the HDMI cable that you can usually find on top of the cabinet to your device and you should be ready to go. |
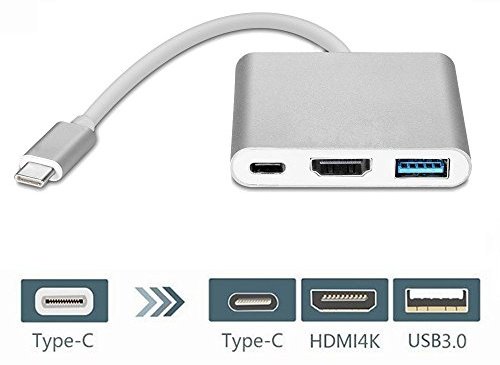
If your device does not have an HDMI port please use the adapter that you can find in the plastic box inside the cabinet to transform the HDMI cable into a USB-C one (for newer Macs, Windows based laptops, Android phones etc.). |
|
|
|
|
If you need a different type of adapter, please tell the IT department in advance what you need or the exact model of your device and the team will find a solution for you. ithelpdesk@isb.be |
|
|
Almost all Apple devices can wirelessly connect the Atrium System using the attached AppleTV (not recommended for videos stored on Google Drive or for high resolution local stored or Youtube clips). |
|
|
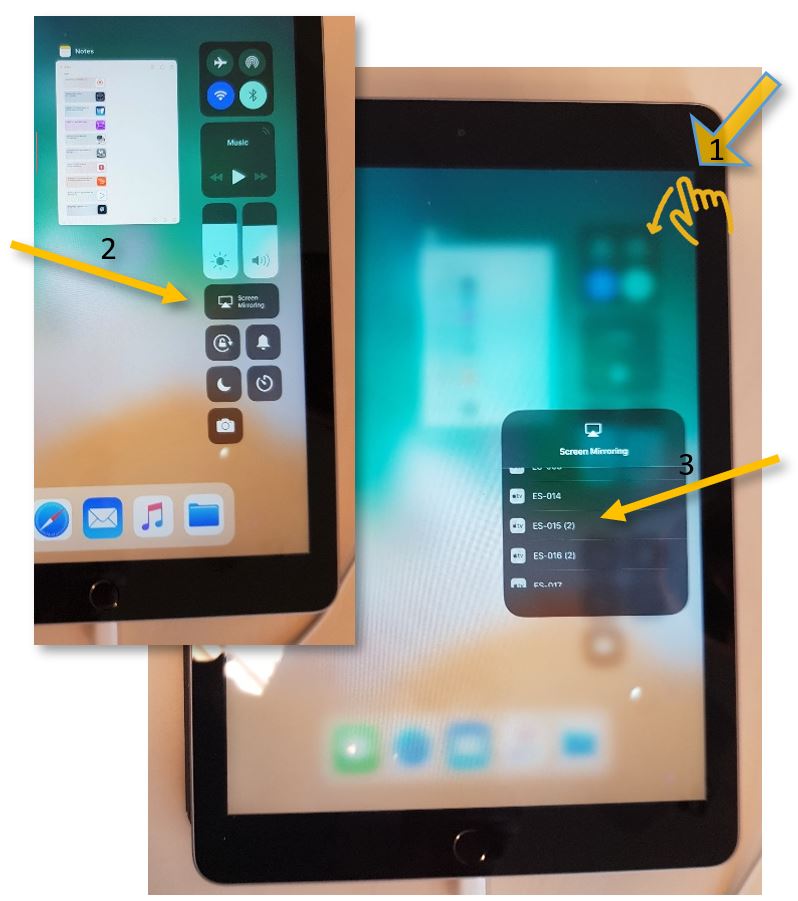
Change the LED or the VIDEO walls inputs to APPLE TV and use the Screen Mirroring function of your device to find and select the "HS-Atrium AppleTV". If needed, insert the code present on the screen/s and you should be ready to go.
|
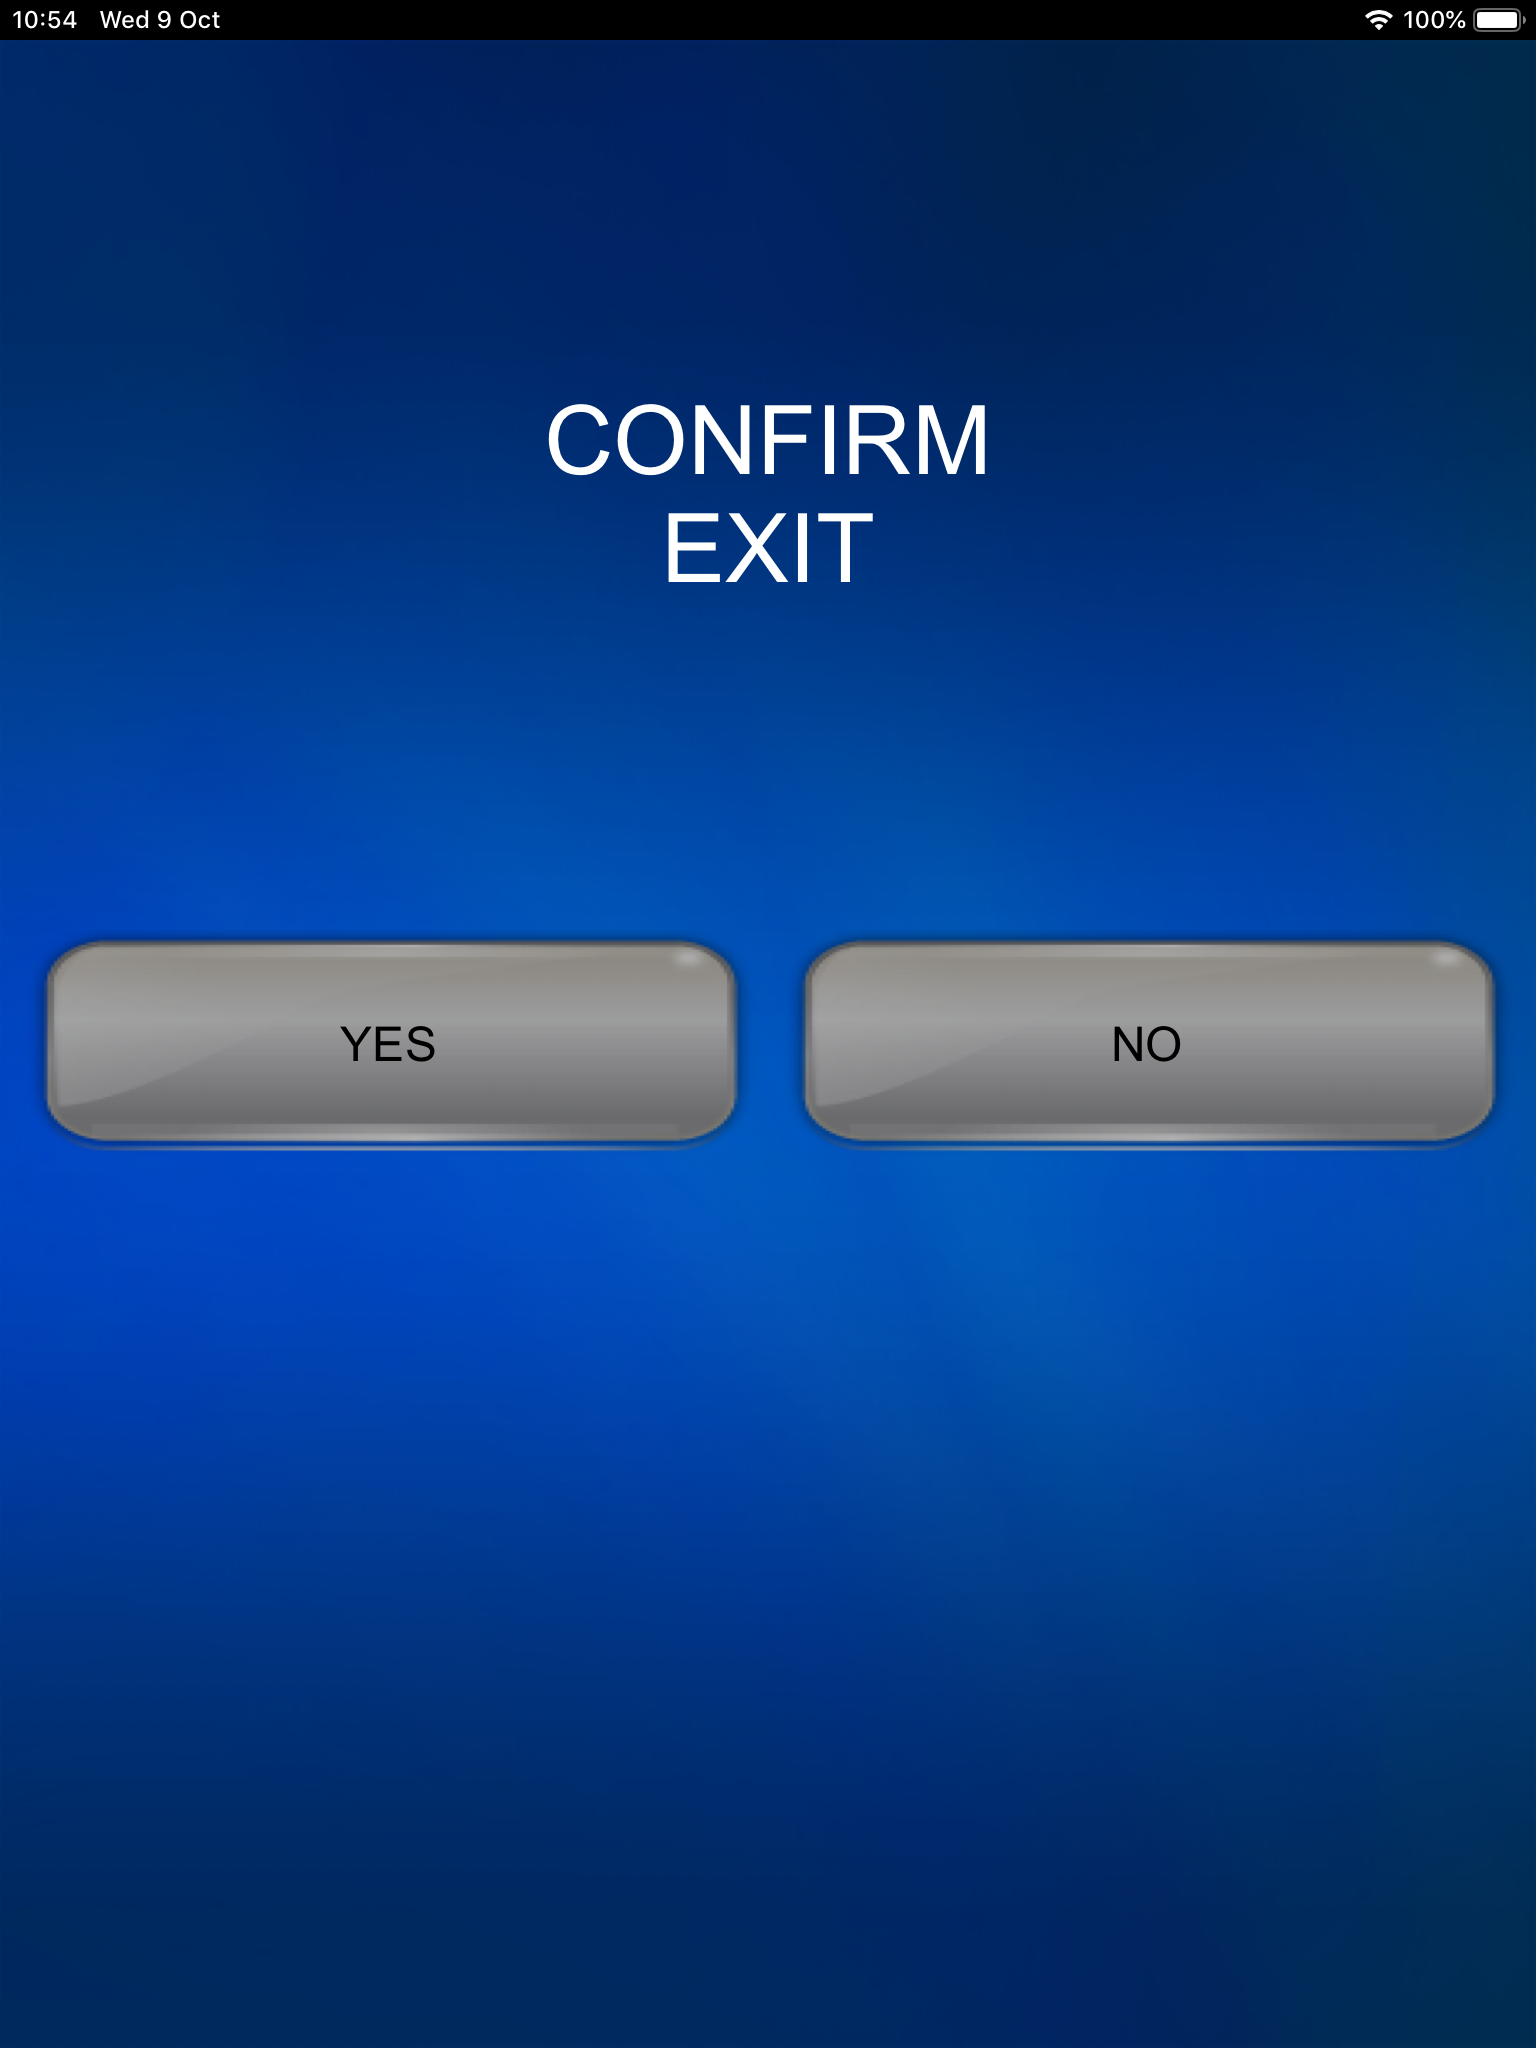
When done please remember to shut down the system. Press EXIT on the initial menu on the tablet and confirm it. Thank you! |
|
|
Projectors - How to Connect to the Projector in the Annex
|
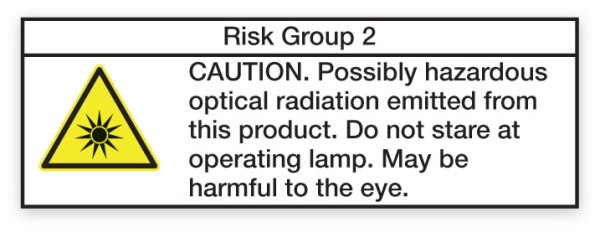
Safety first: This projector uses a laser beam; please avoid looking at the operating lamp.
|
|
|
The projector's remote is stored in the white cabinet on your left when you enter the Lounge. |
|
|
Windows: You can wirelessly connect to the projector with a Windows machine – like the Lenovo X1 laptop, Ensure the device is connected to the ISB or the ISBConnect wireless network.
ISBConnect is our guest network, and anybody can access it. Password - While at ISB, please ask one of the staff members for the Password.
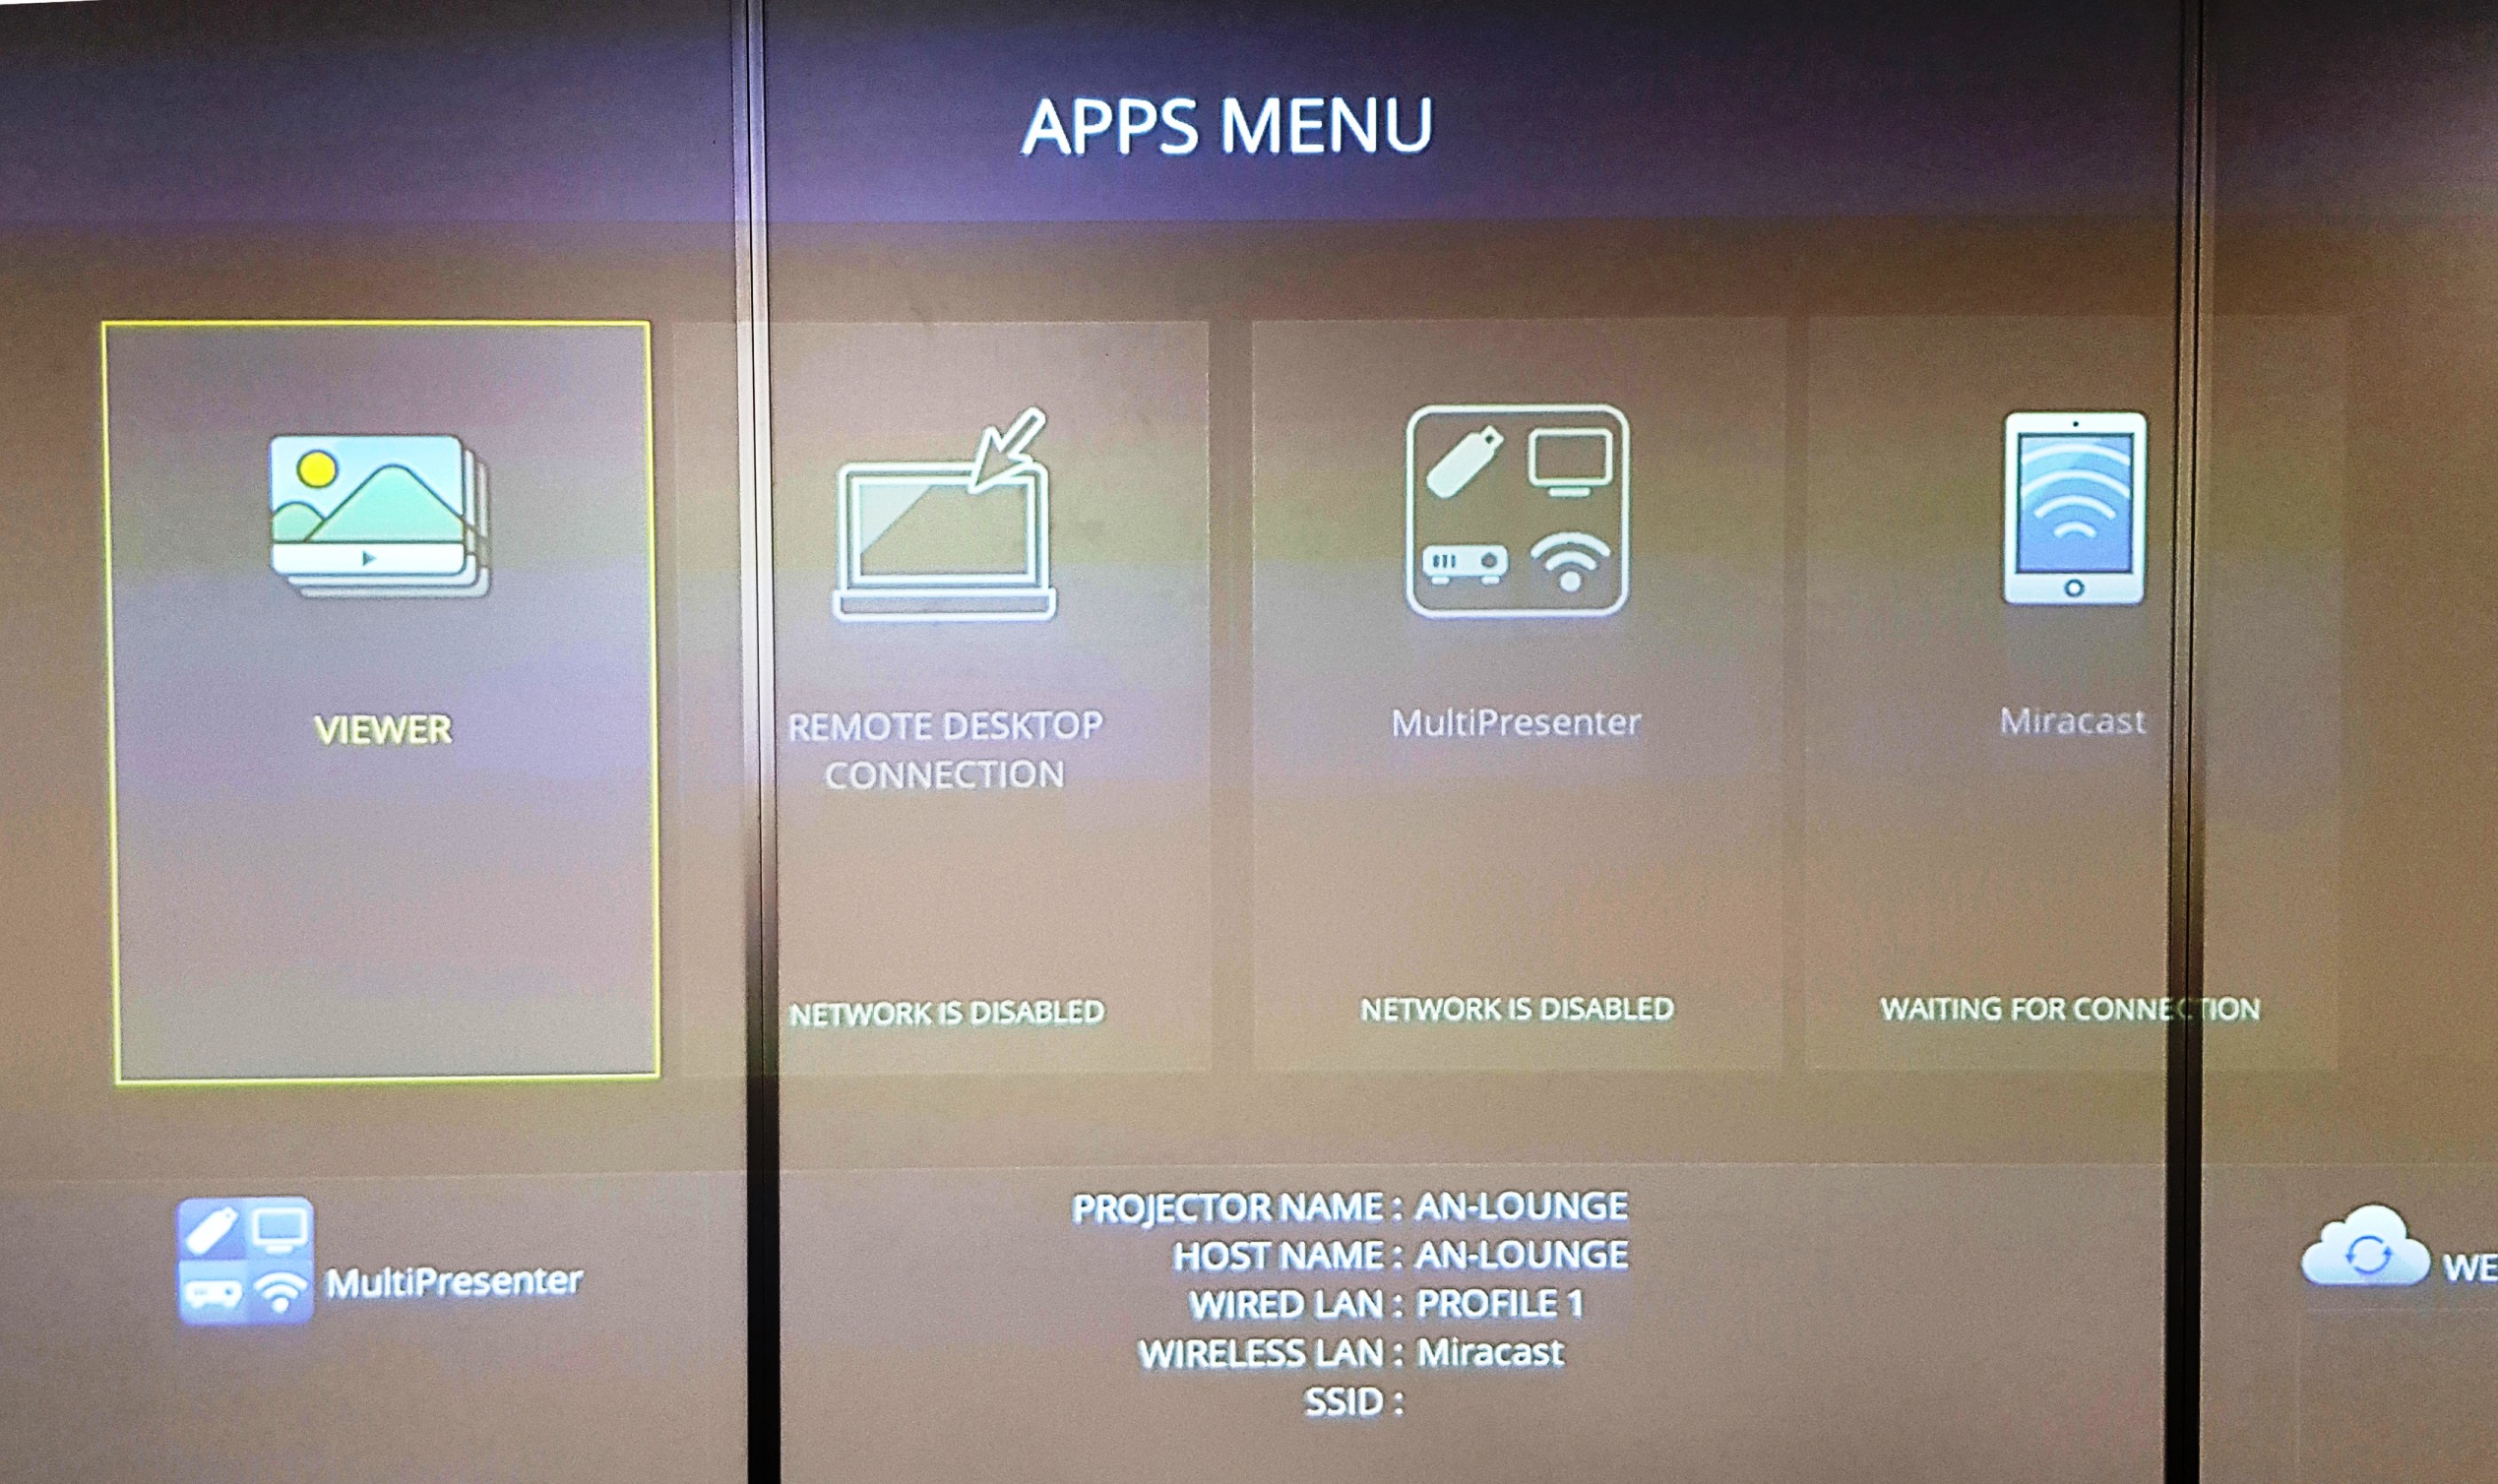
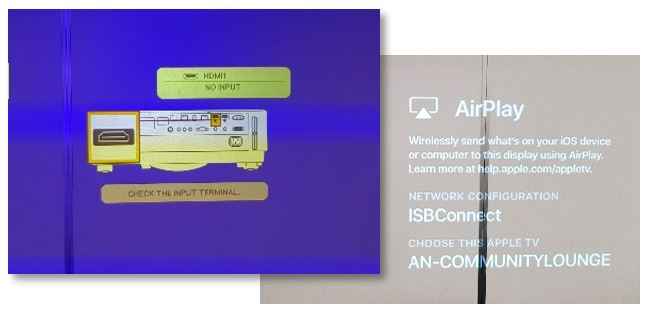
Turn on the projector and wait for 2-3 minutes. If you do not see the screen on the right, please press Menu on the remote and change the source to APPS. |
|
|
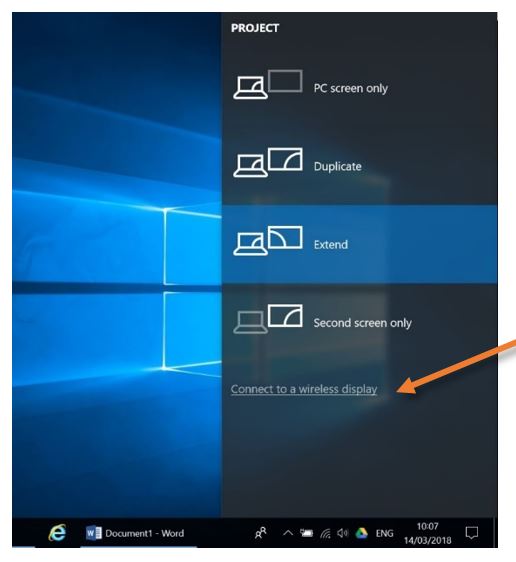
Press the ⊞ Windows button and P simultaneously on the Windows machine; the “Project” panel will pop up. Click on “Connect to a wireless display".
|
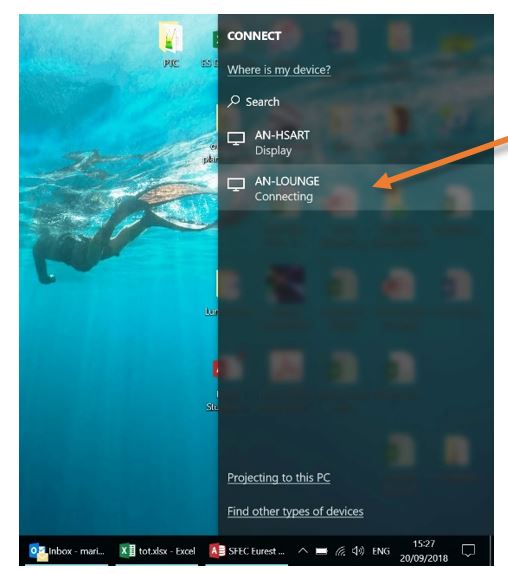
Find the correct device (in this example, AN-LOUNGE) and click on it to connect. You should be ready to go.
|
|
Apple: You can wirelessly connect to the projector with an Apple device – like a MacBook Pro or an iPad.
Make sure that the device is connected to the ISB or the ISBConnect wireless network.
ISBConnect is our guest network, and anybody can access it. Password - While at ISB, please ask one of the staff members for the Password.
Turn on the projector and wait for 2-3 minutes. If you do not see the screens on the right, please press Menu on the remote and change the source to HDMI1. |
|
|
On a MacBook, click the Screen Mirroring icon on the upper right side of the menubar and select the correct projector from the rolling list, usually named after the room number. In this example: AN-COMMUNITYLOUNGE.
|
On an iPad, swipe up diagonally from the upper right corner onto the screen to bring up Control Center. Press the Screen Mirroring button and select the correct projector on the menu – usually named after the room number. In this example: AN-COMMUNITYLOUNGE.
|
|
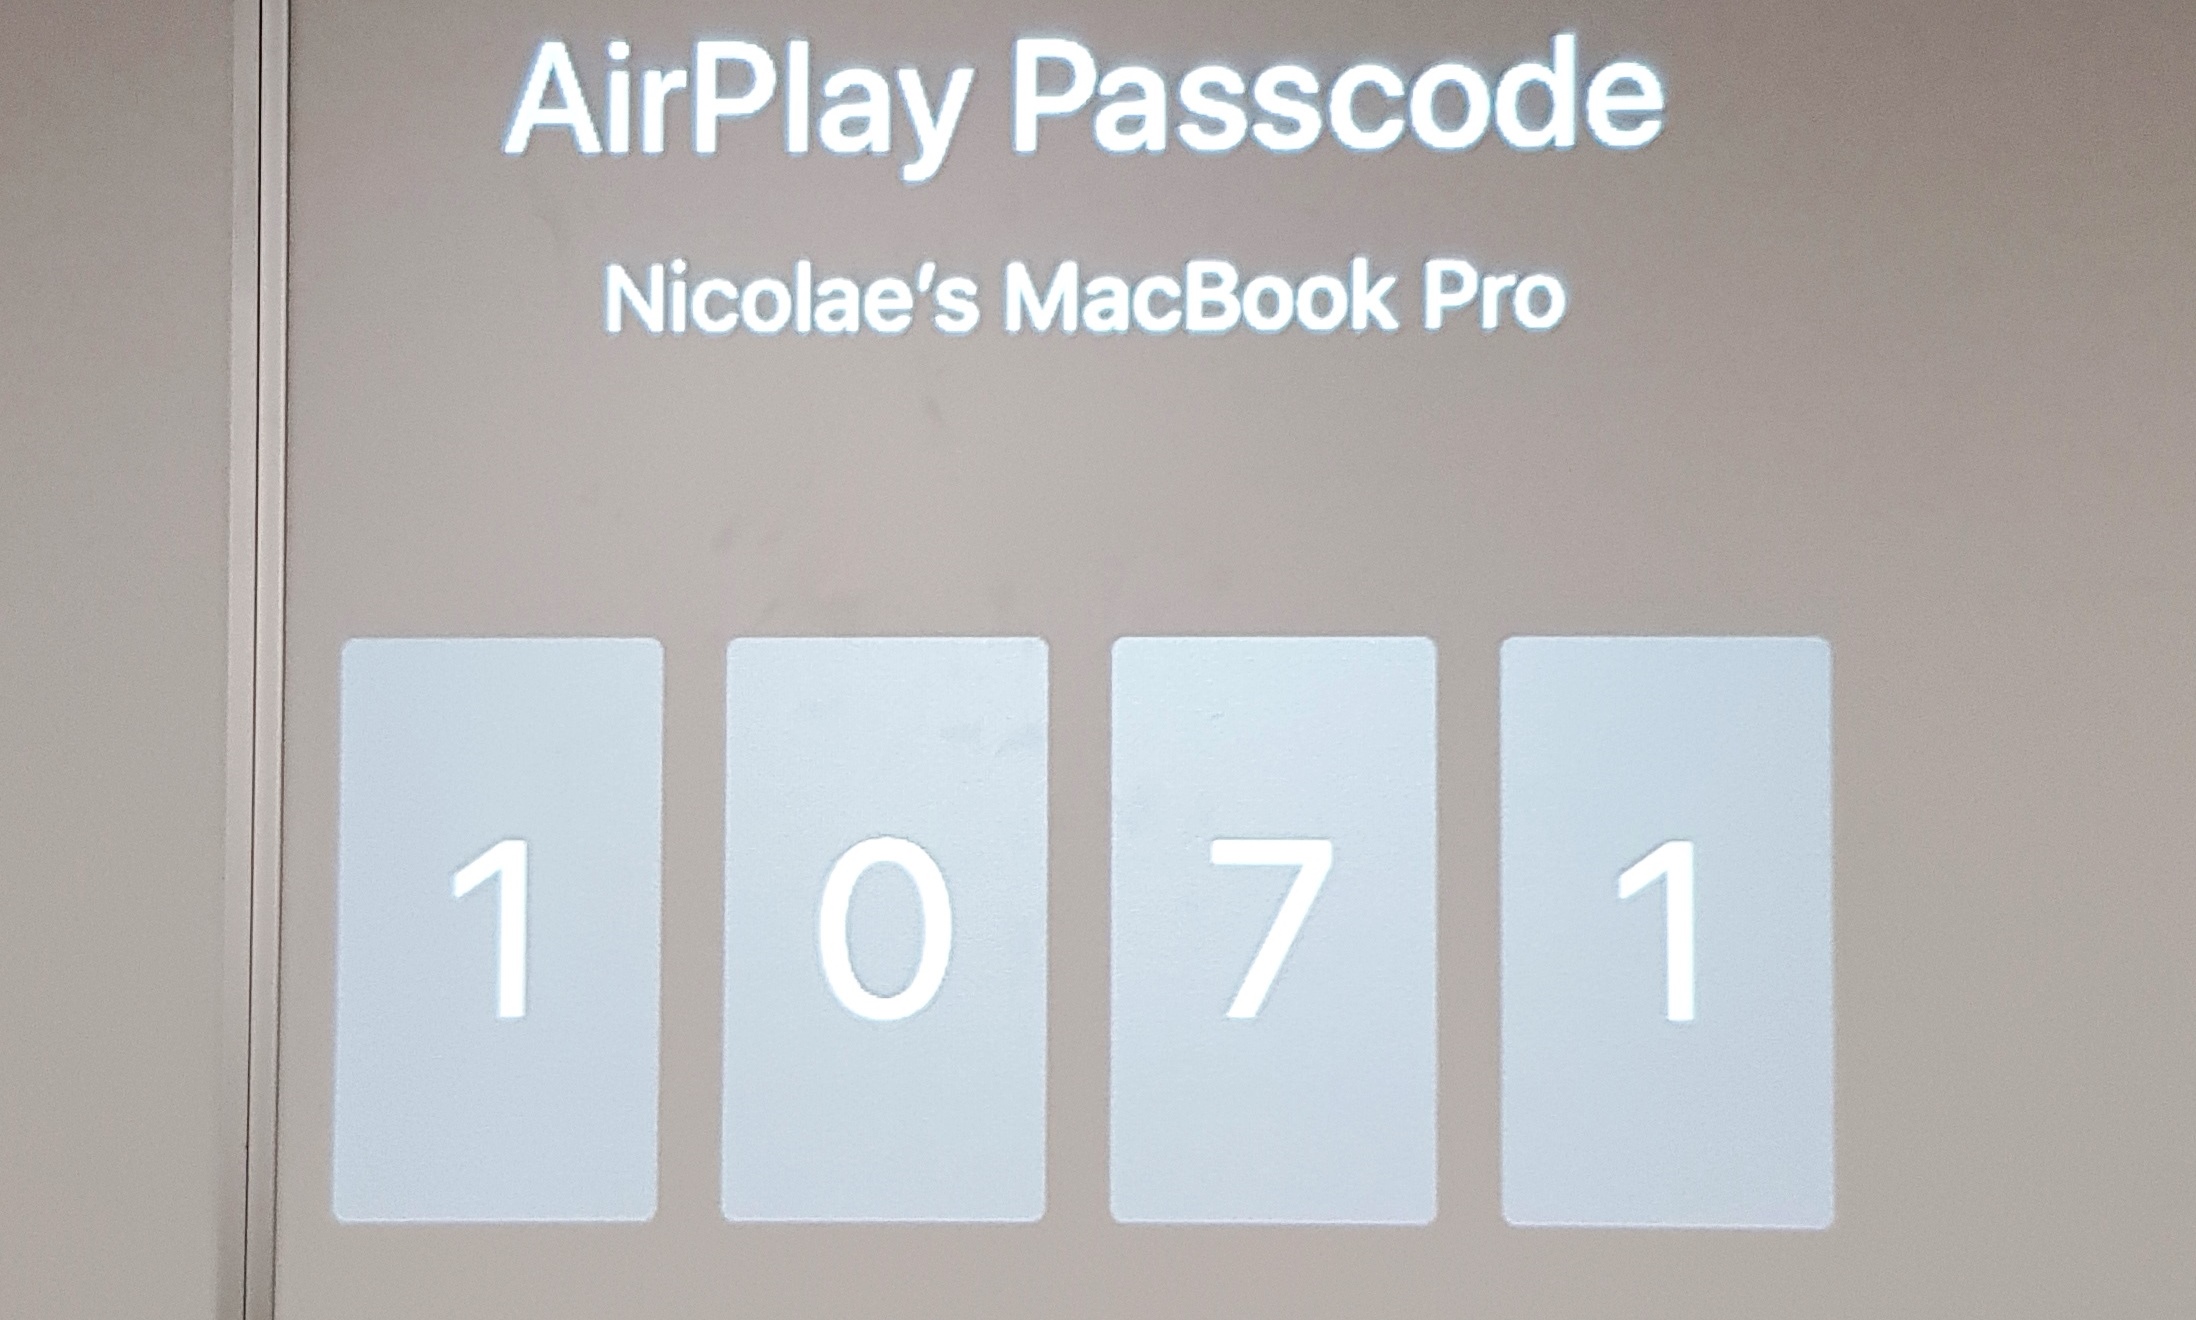
If it's the first time you connect this particular device to the projector, you will be asked to pair the devices – please insert the number that you can see projected, and you should be ready to go. |
|
|
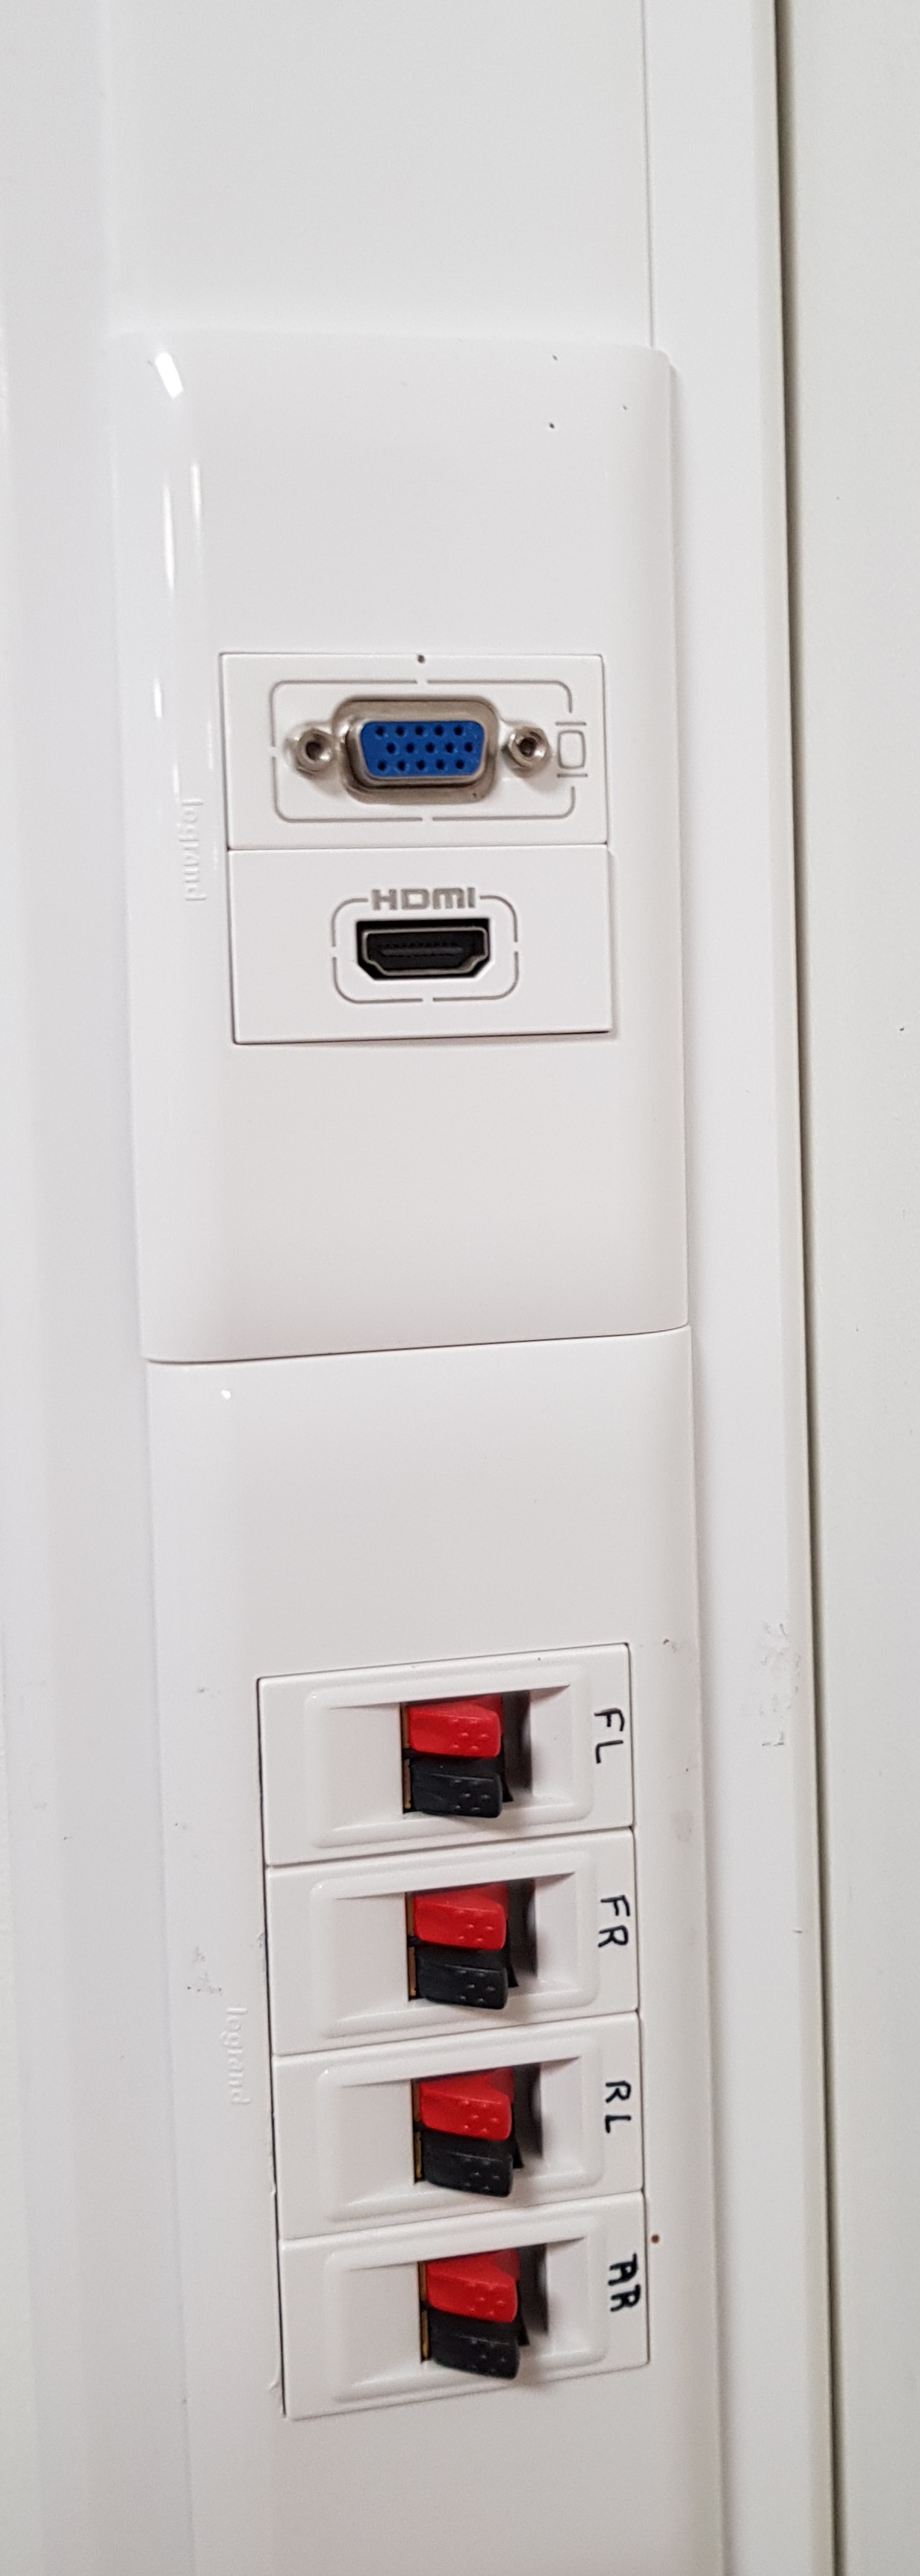
Other devices: If you have a device that does not have wireless capabilities, please use the wall connection and the HDMI cable you can find in the cupboard.
If you need an adapter or a different type of cable, please contact the IT team: Ext. 303.
Turn on the projector and wait for 2-3 minutes. Press Menu on the remote and change the source to HDMI2. You should be ready to go. |
|
|
Sound: If you discover that the sound is too low or too high, please use the volume buttons on the remote to adjust it. |
|